If you navigated away from the site after uploading your proof of ID, go to step 1 below. On the other hand, if you've already completed the ID upload, go to Step 4 below.
Step 1
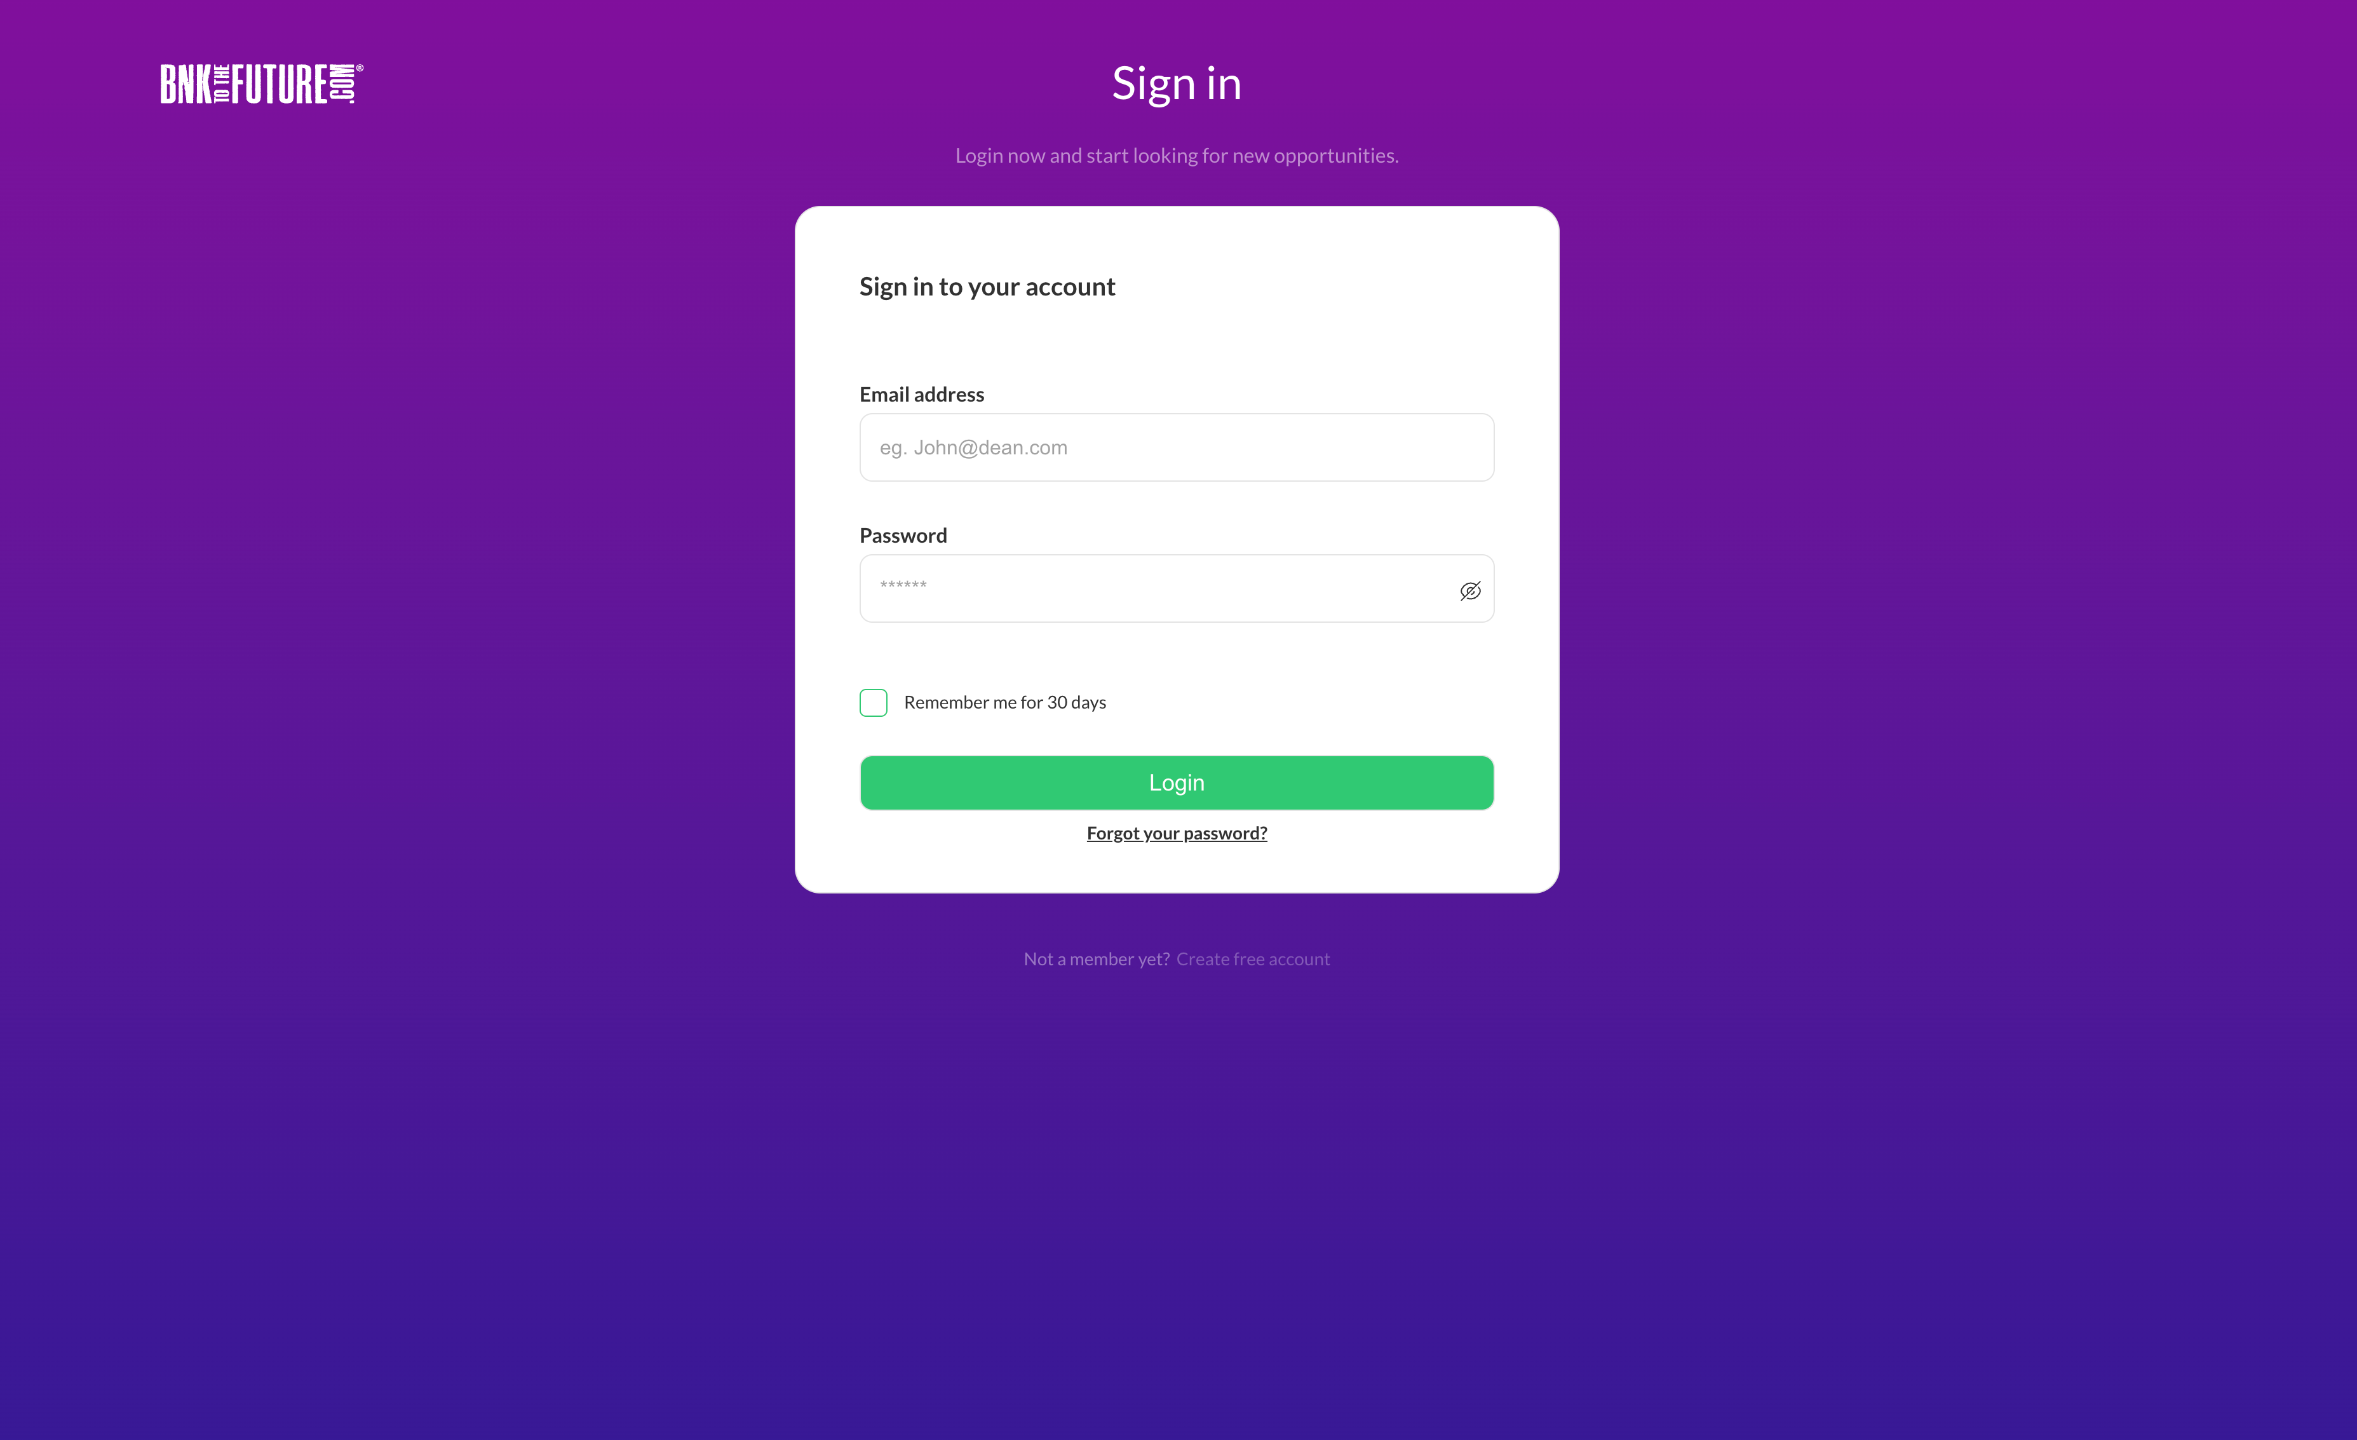
Login to your BF Account.
Step 2
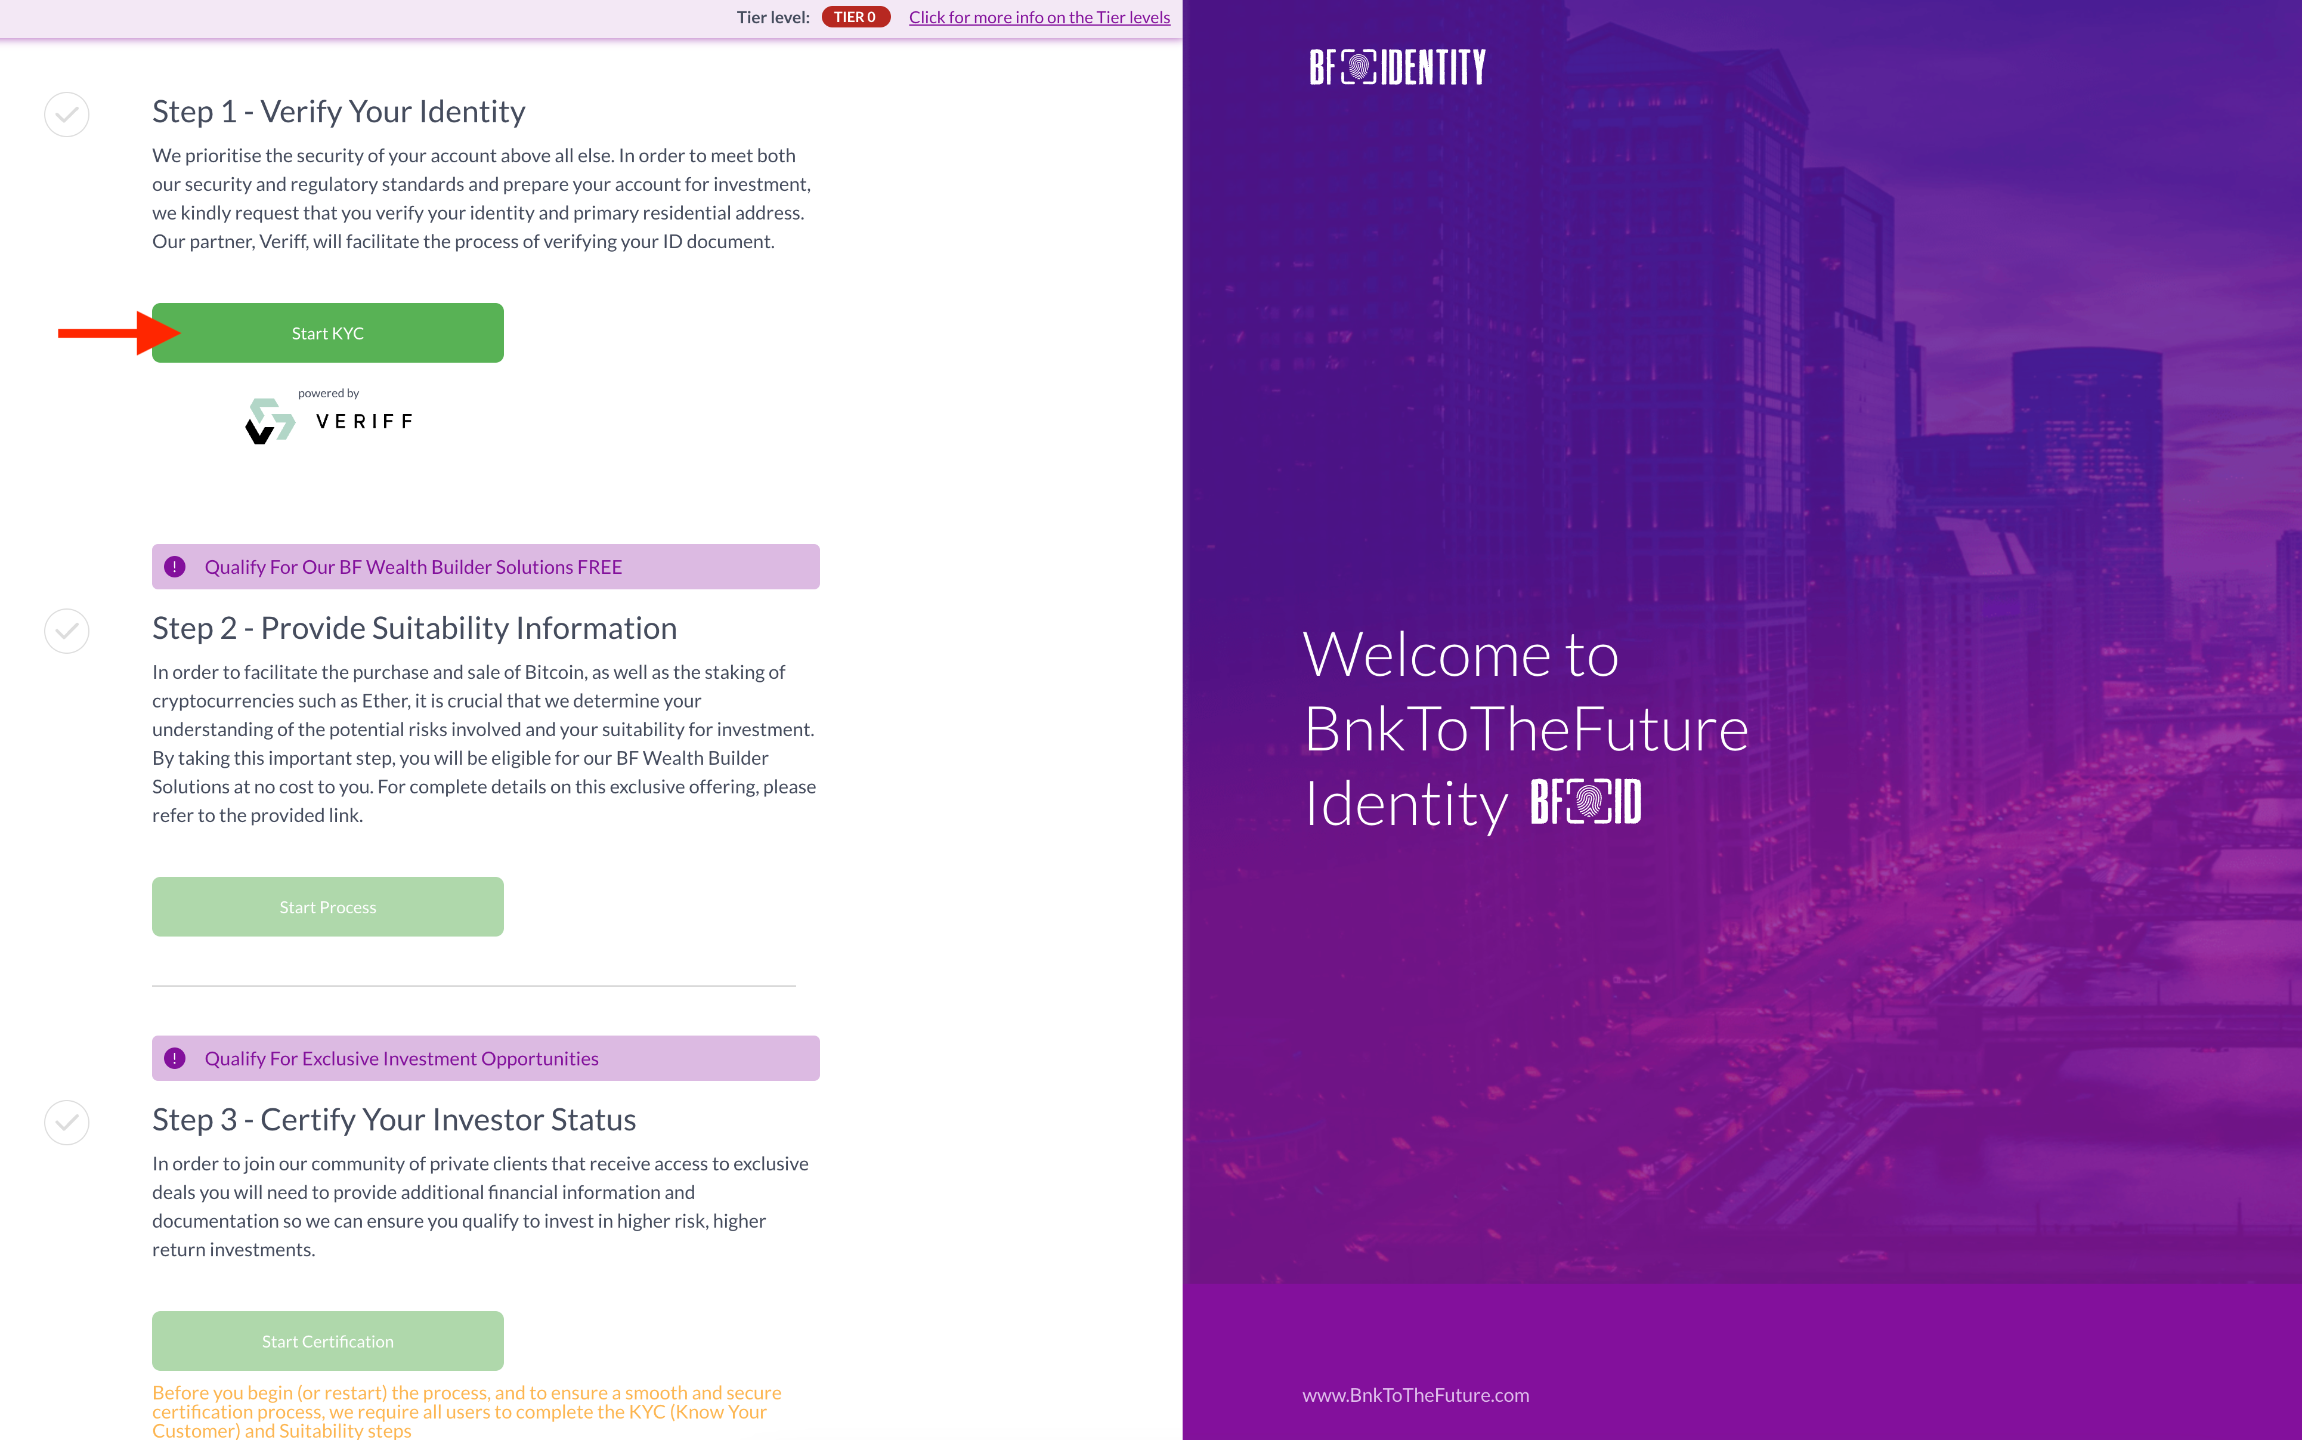
Select your profile name on the top right corner and then select “Identity”.

Step 3
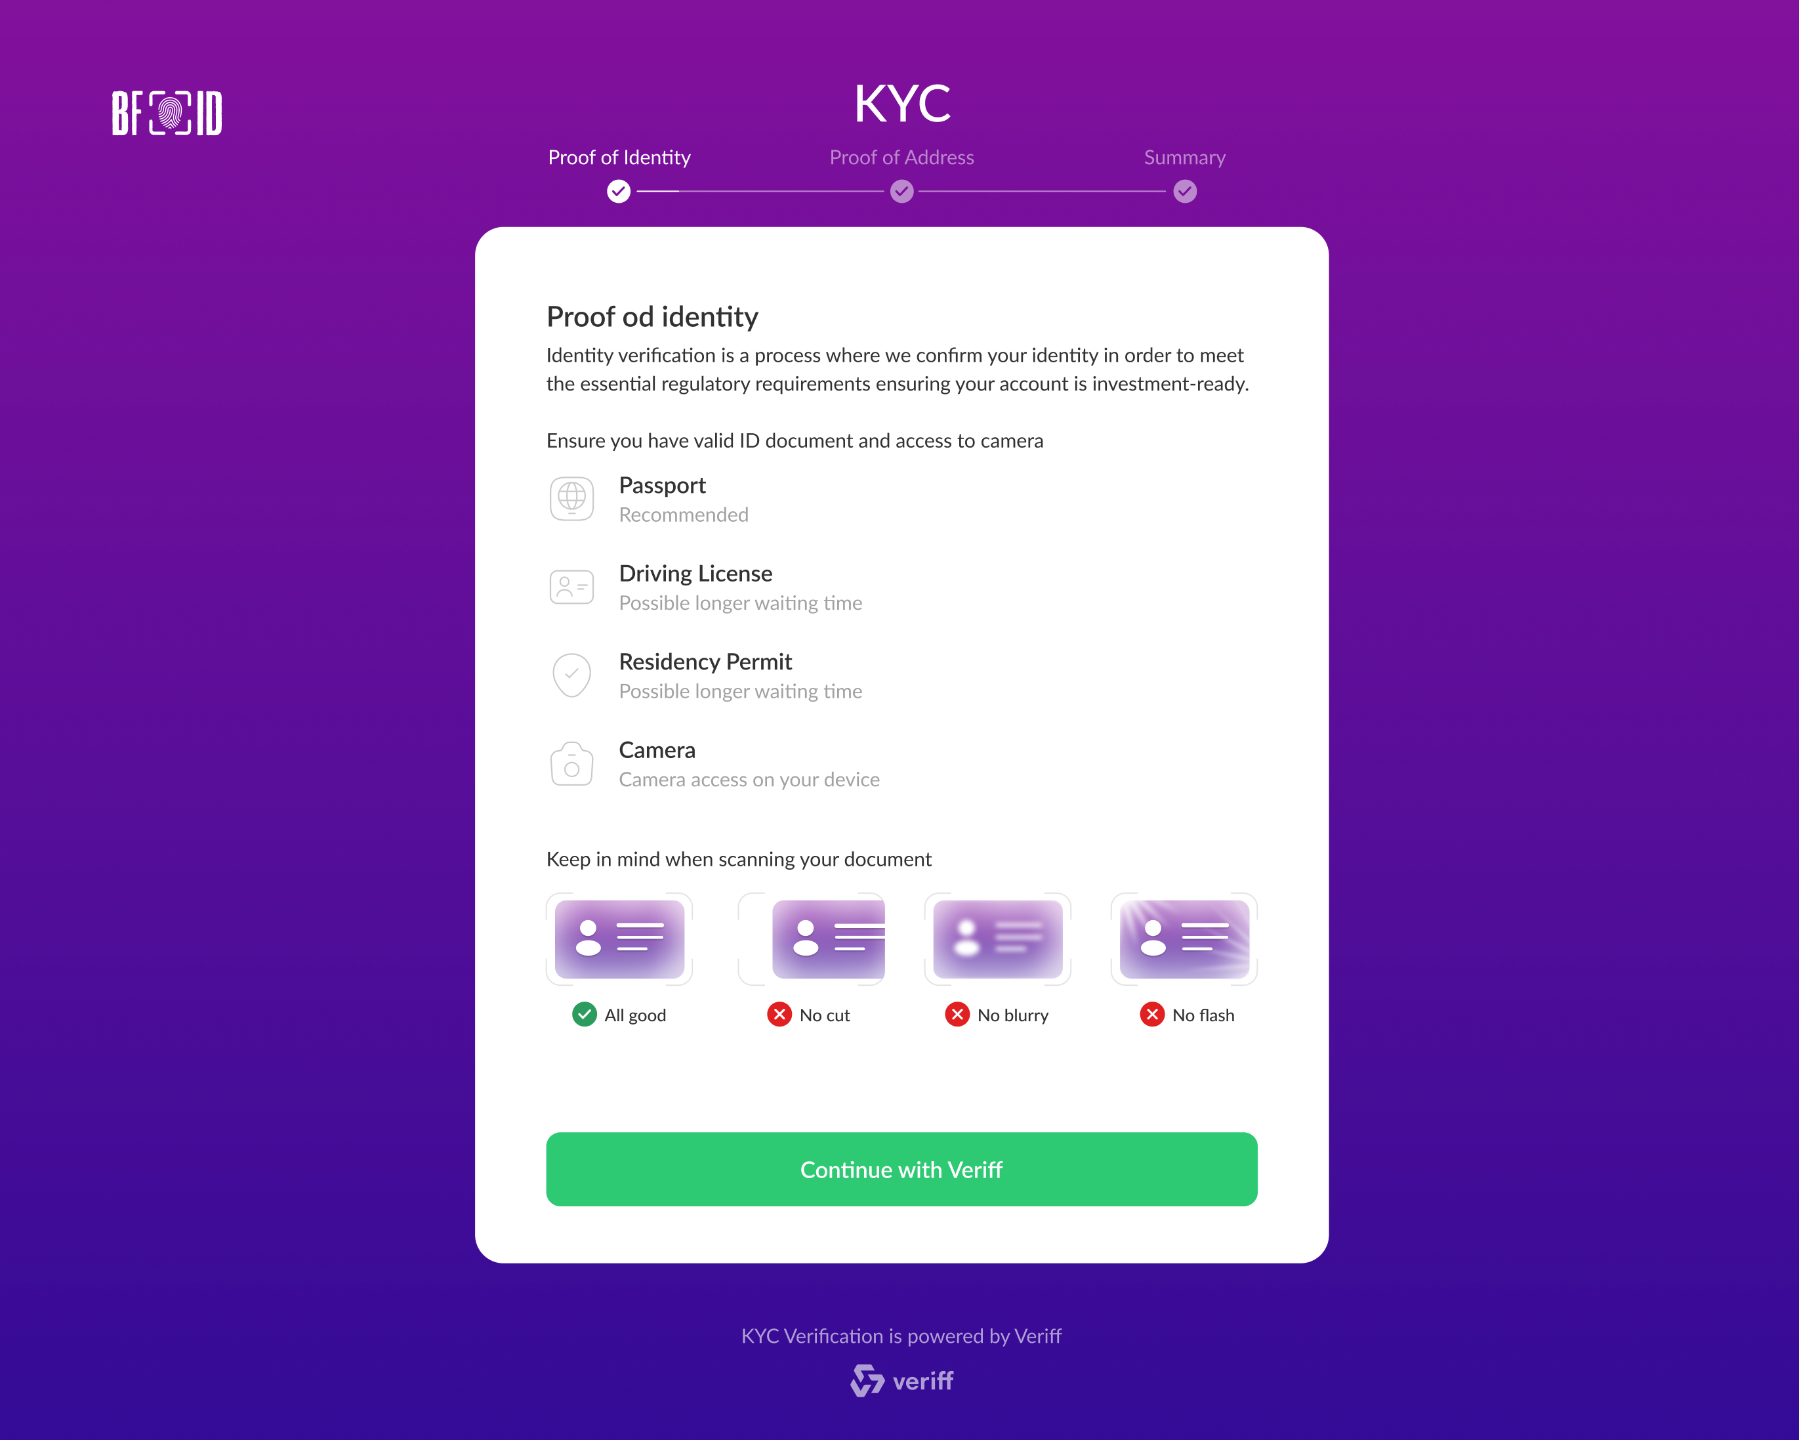
Proceed by clicking the "Start KYC" button to advance further in the process and commence the uploading of proof of address documents.
Step 4
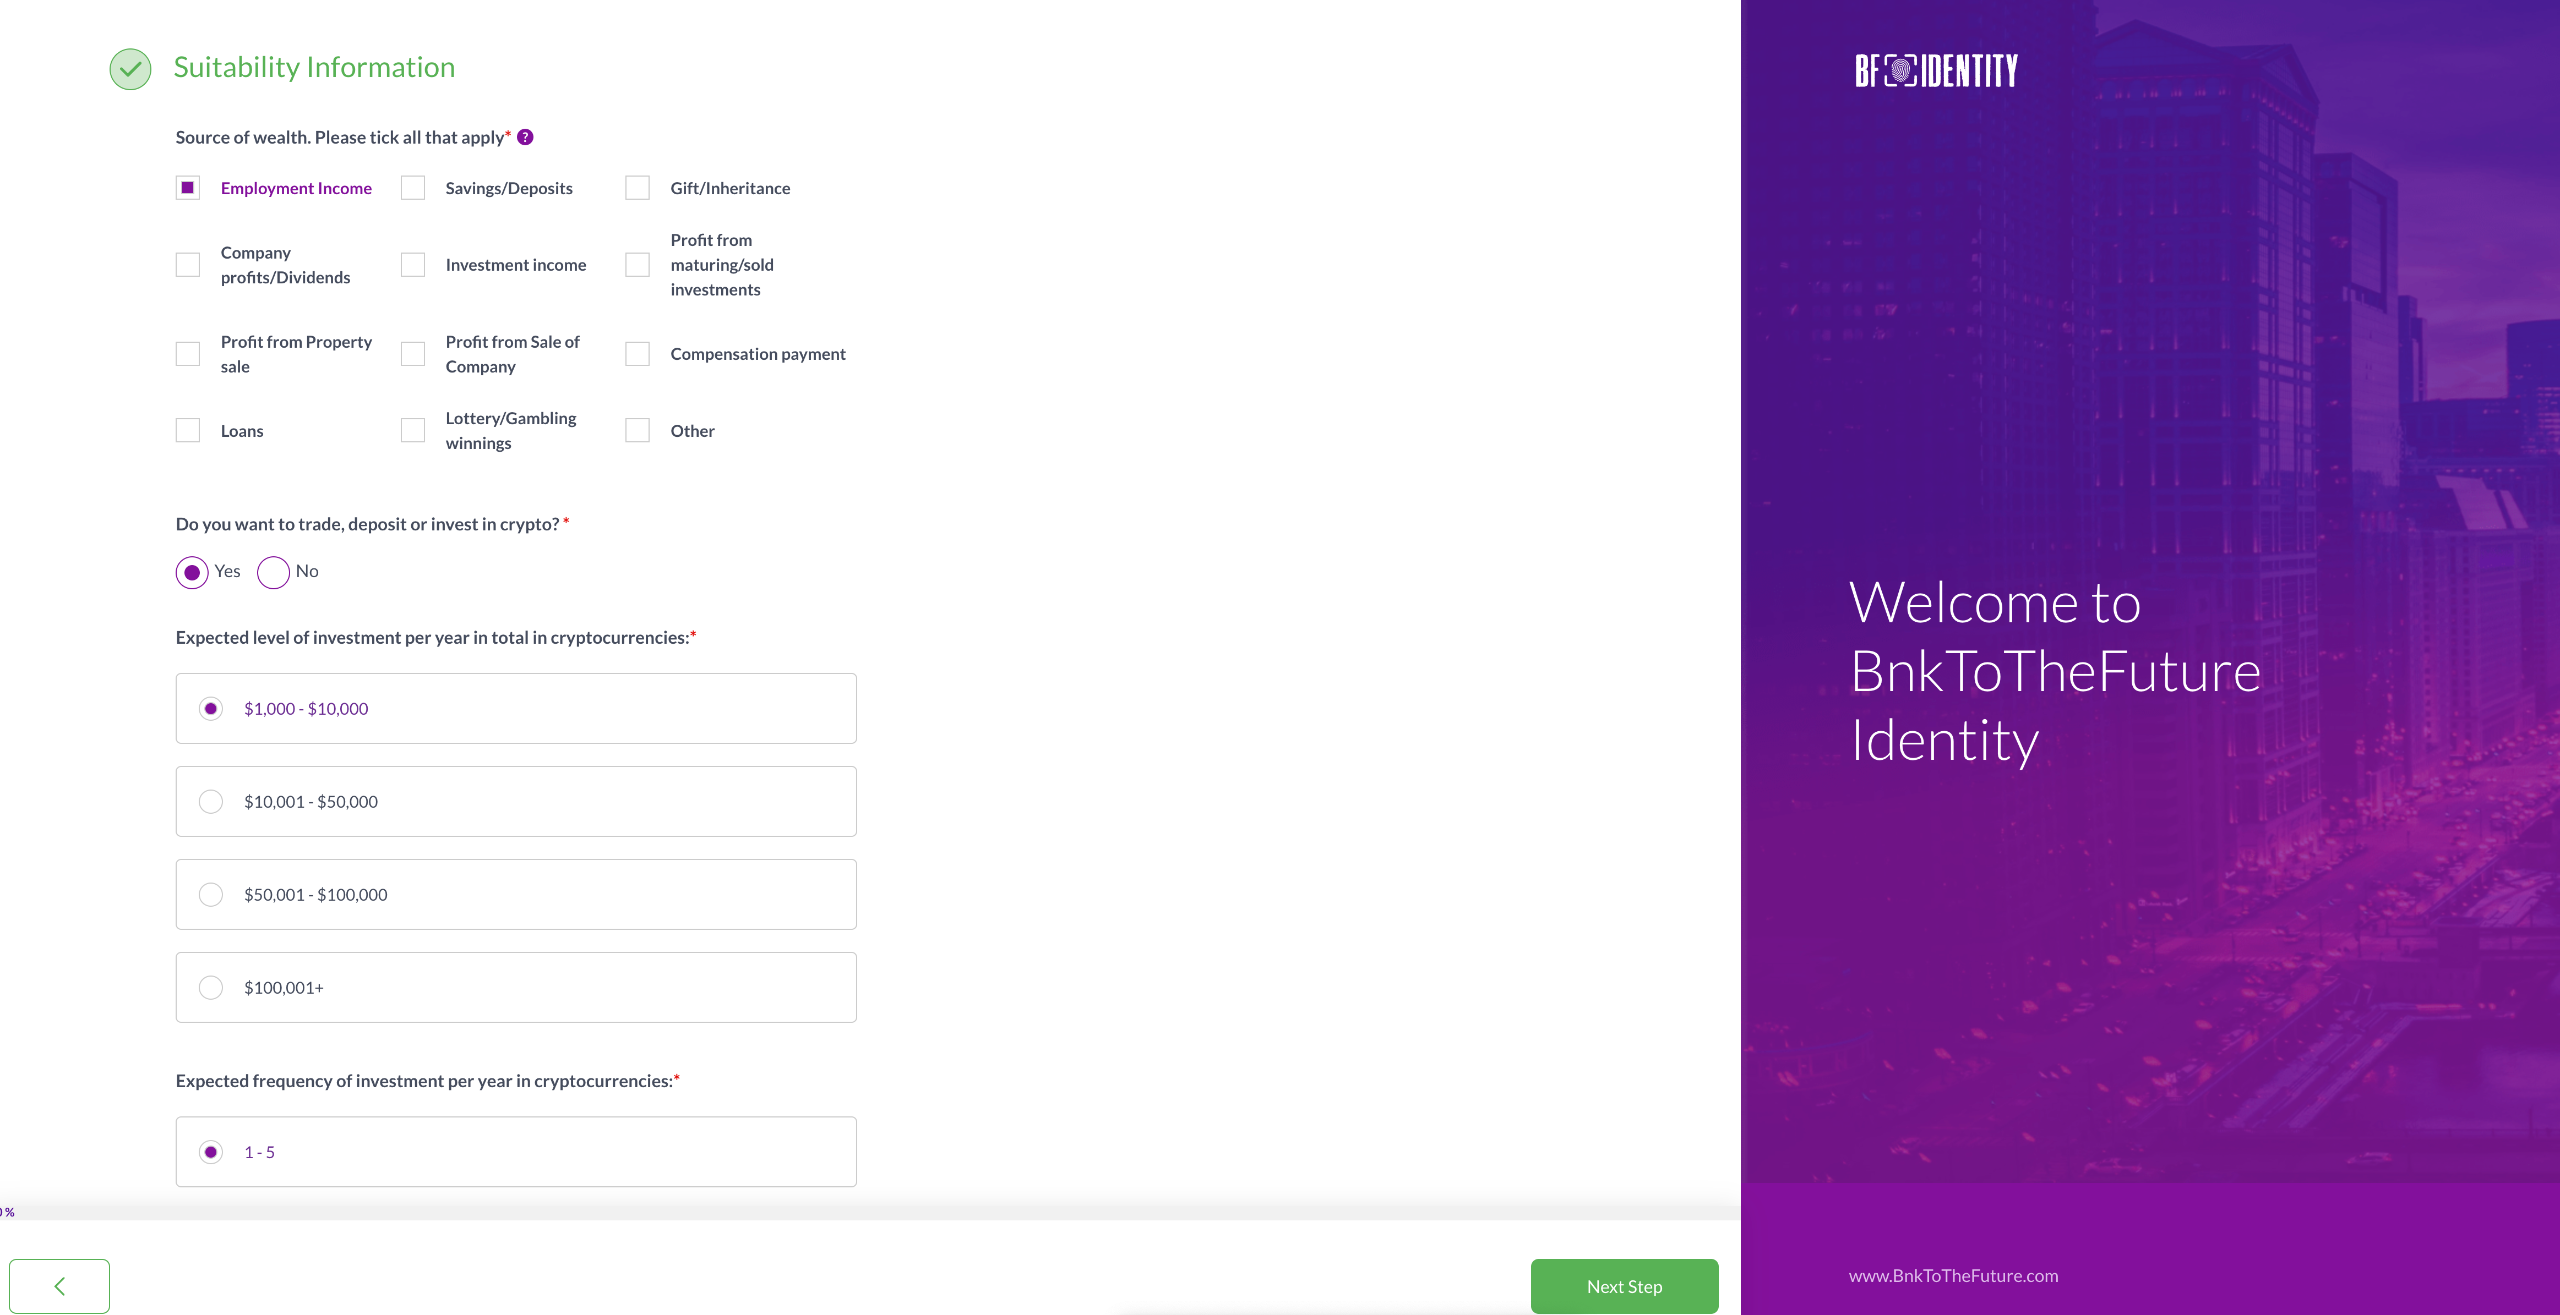
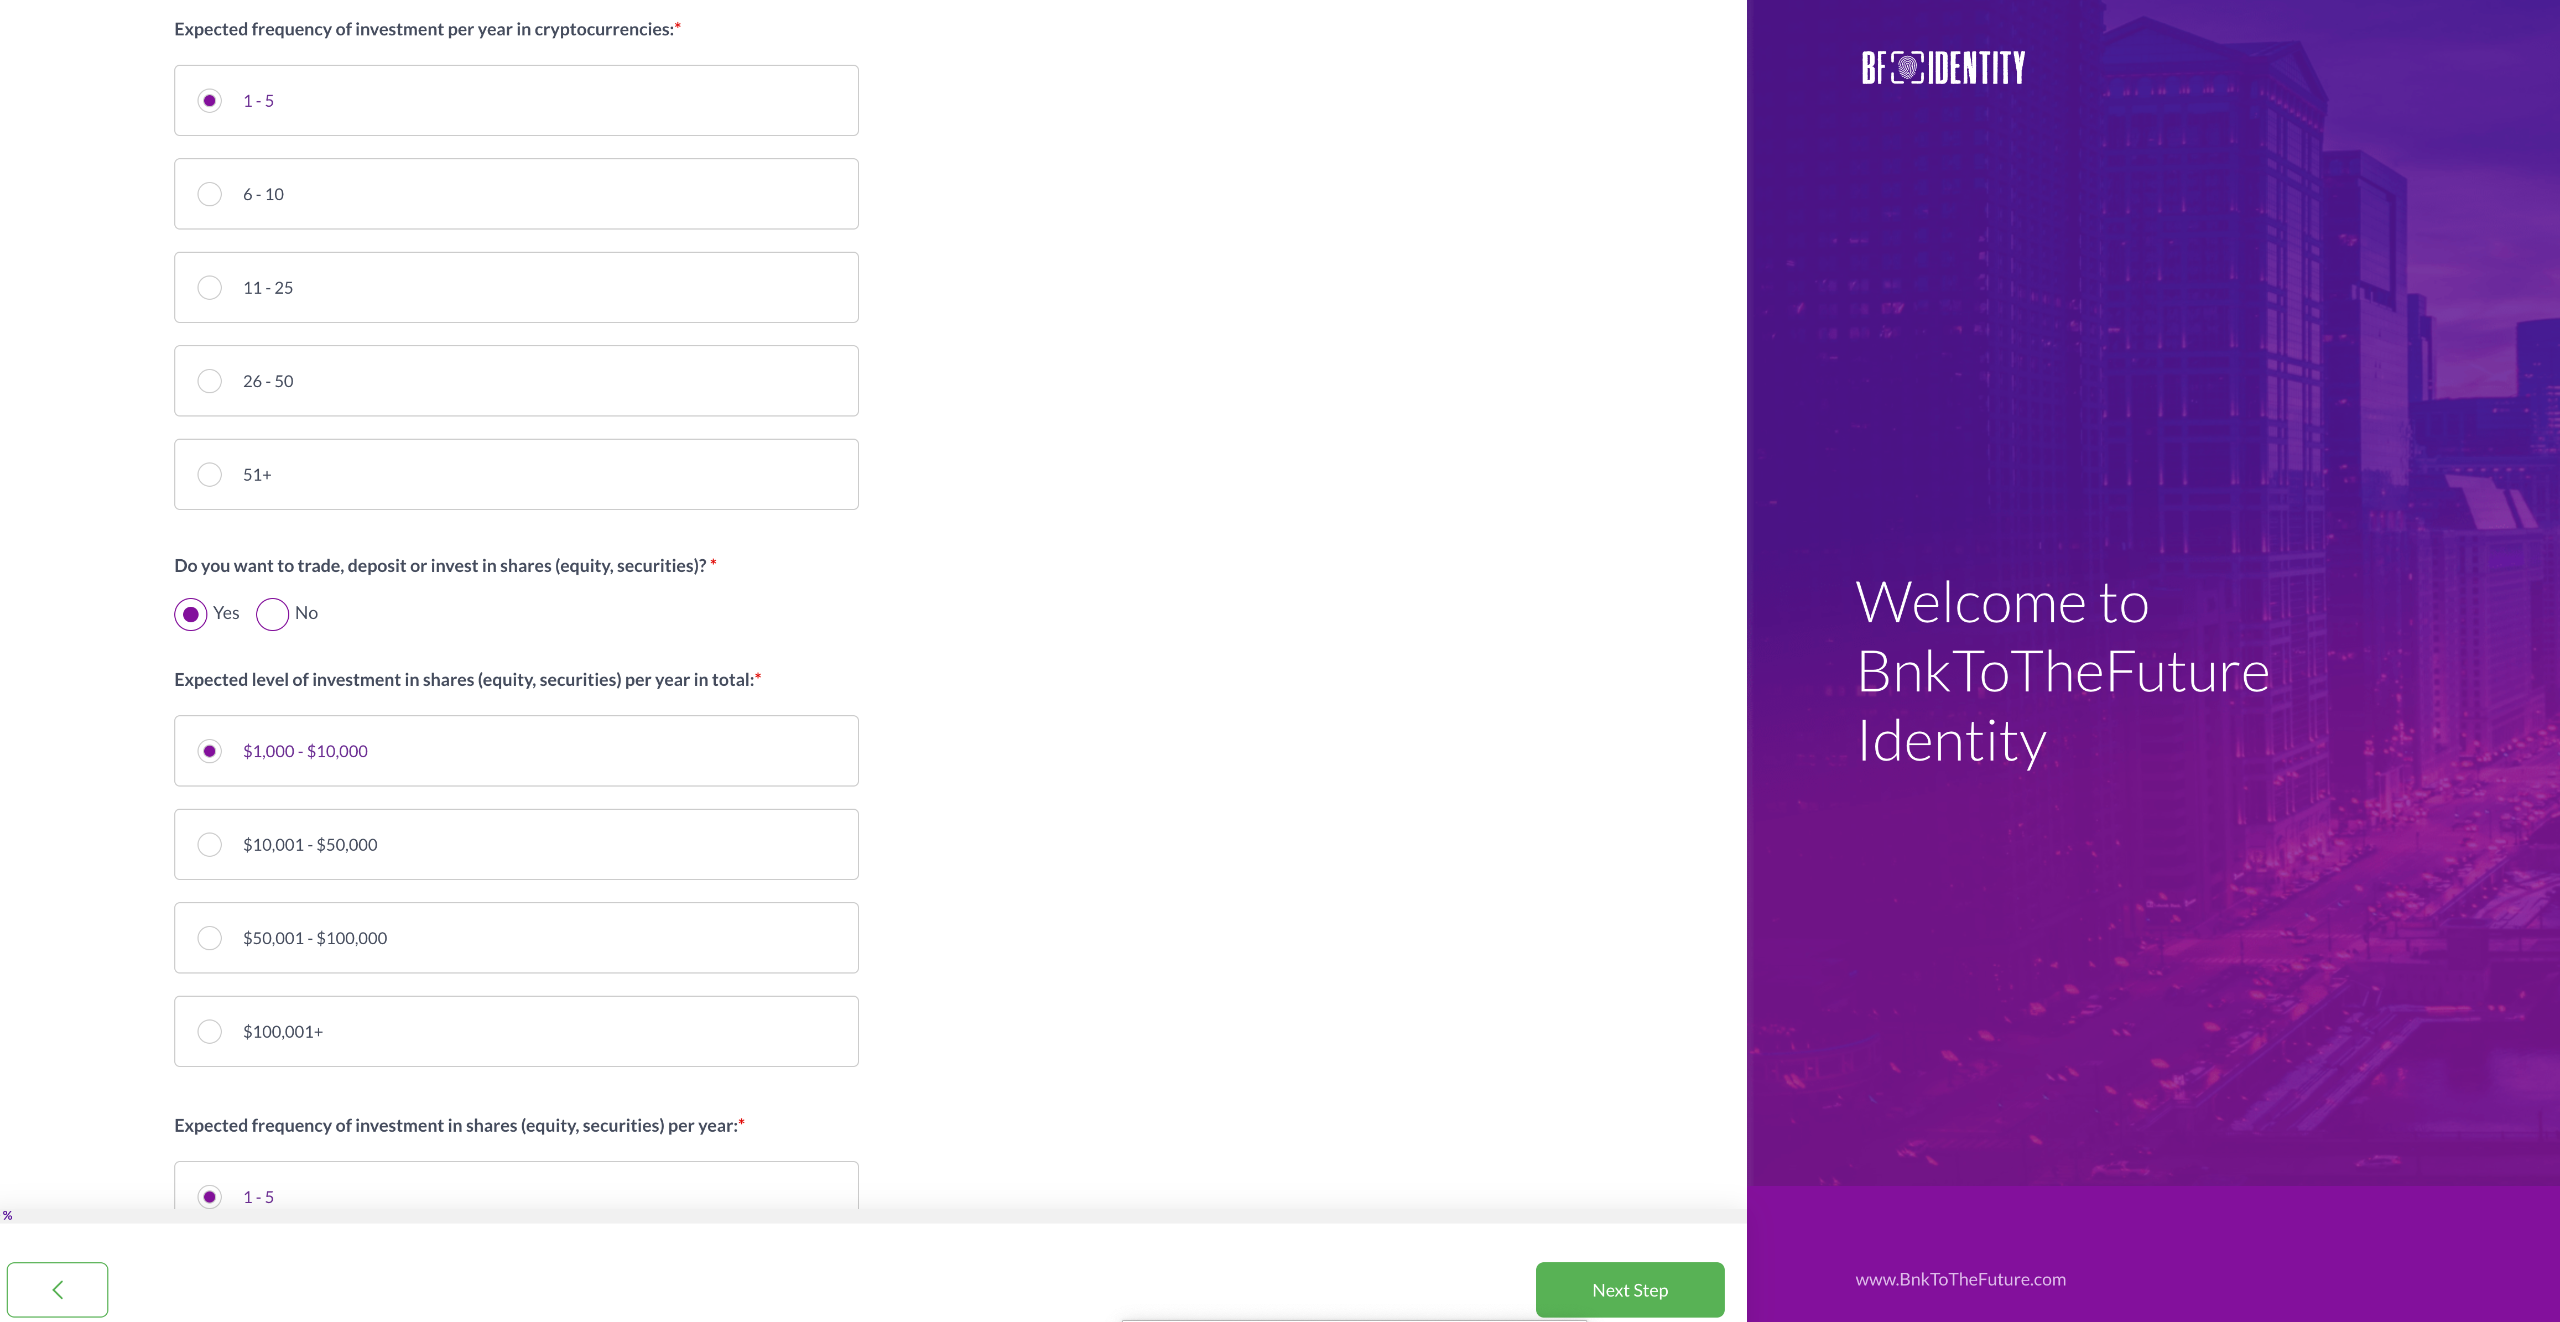
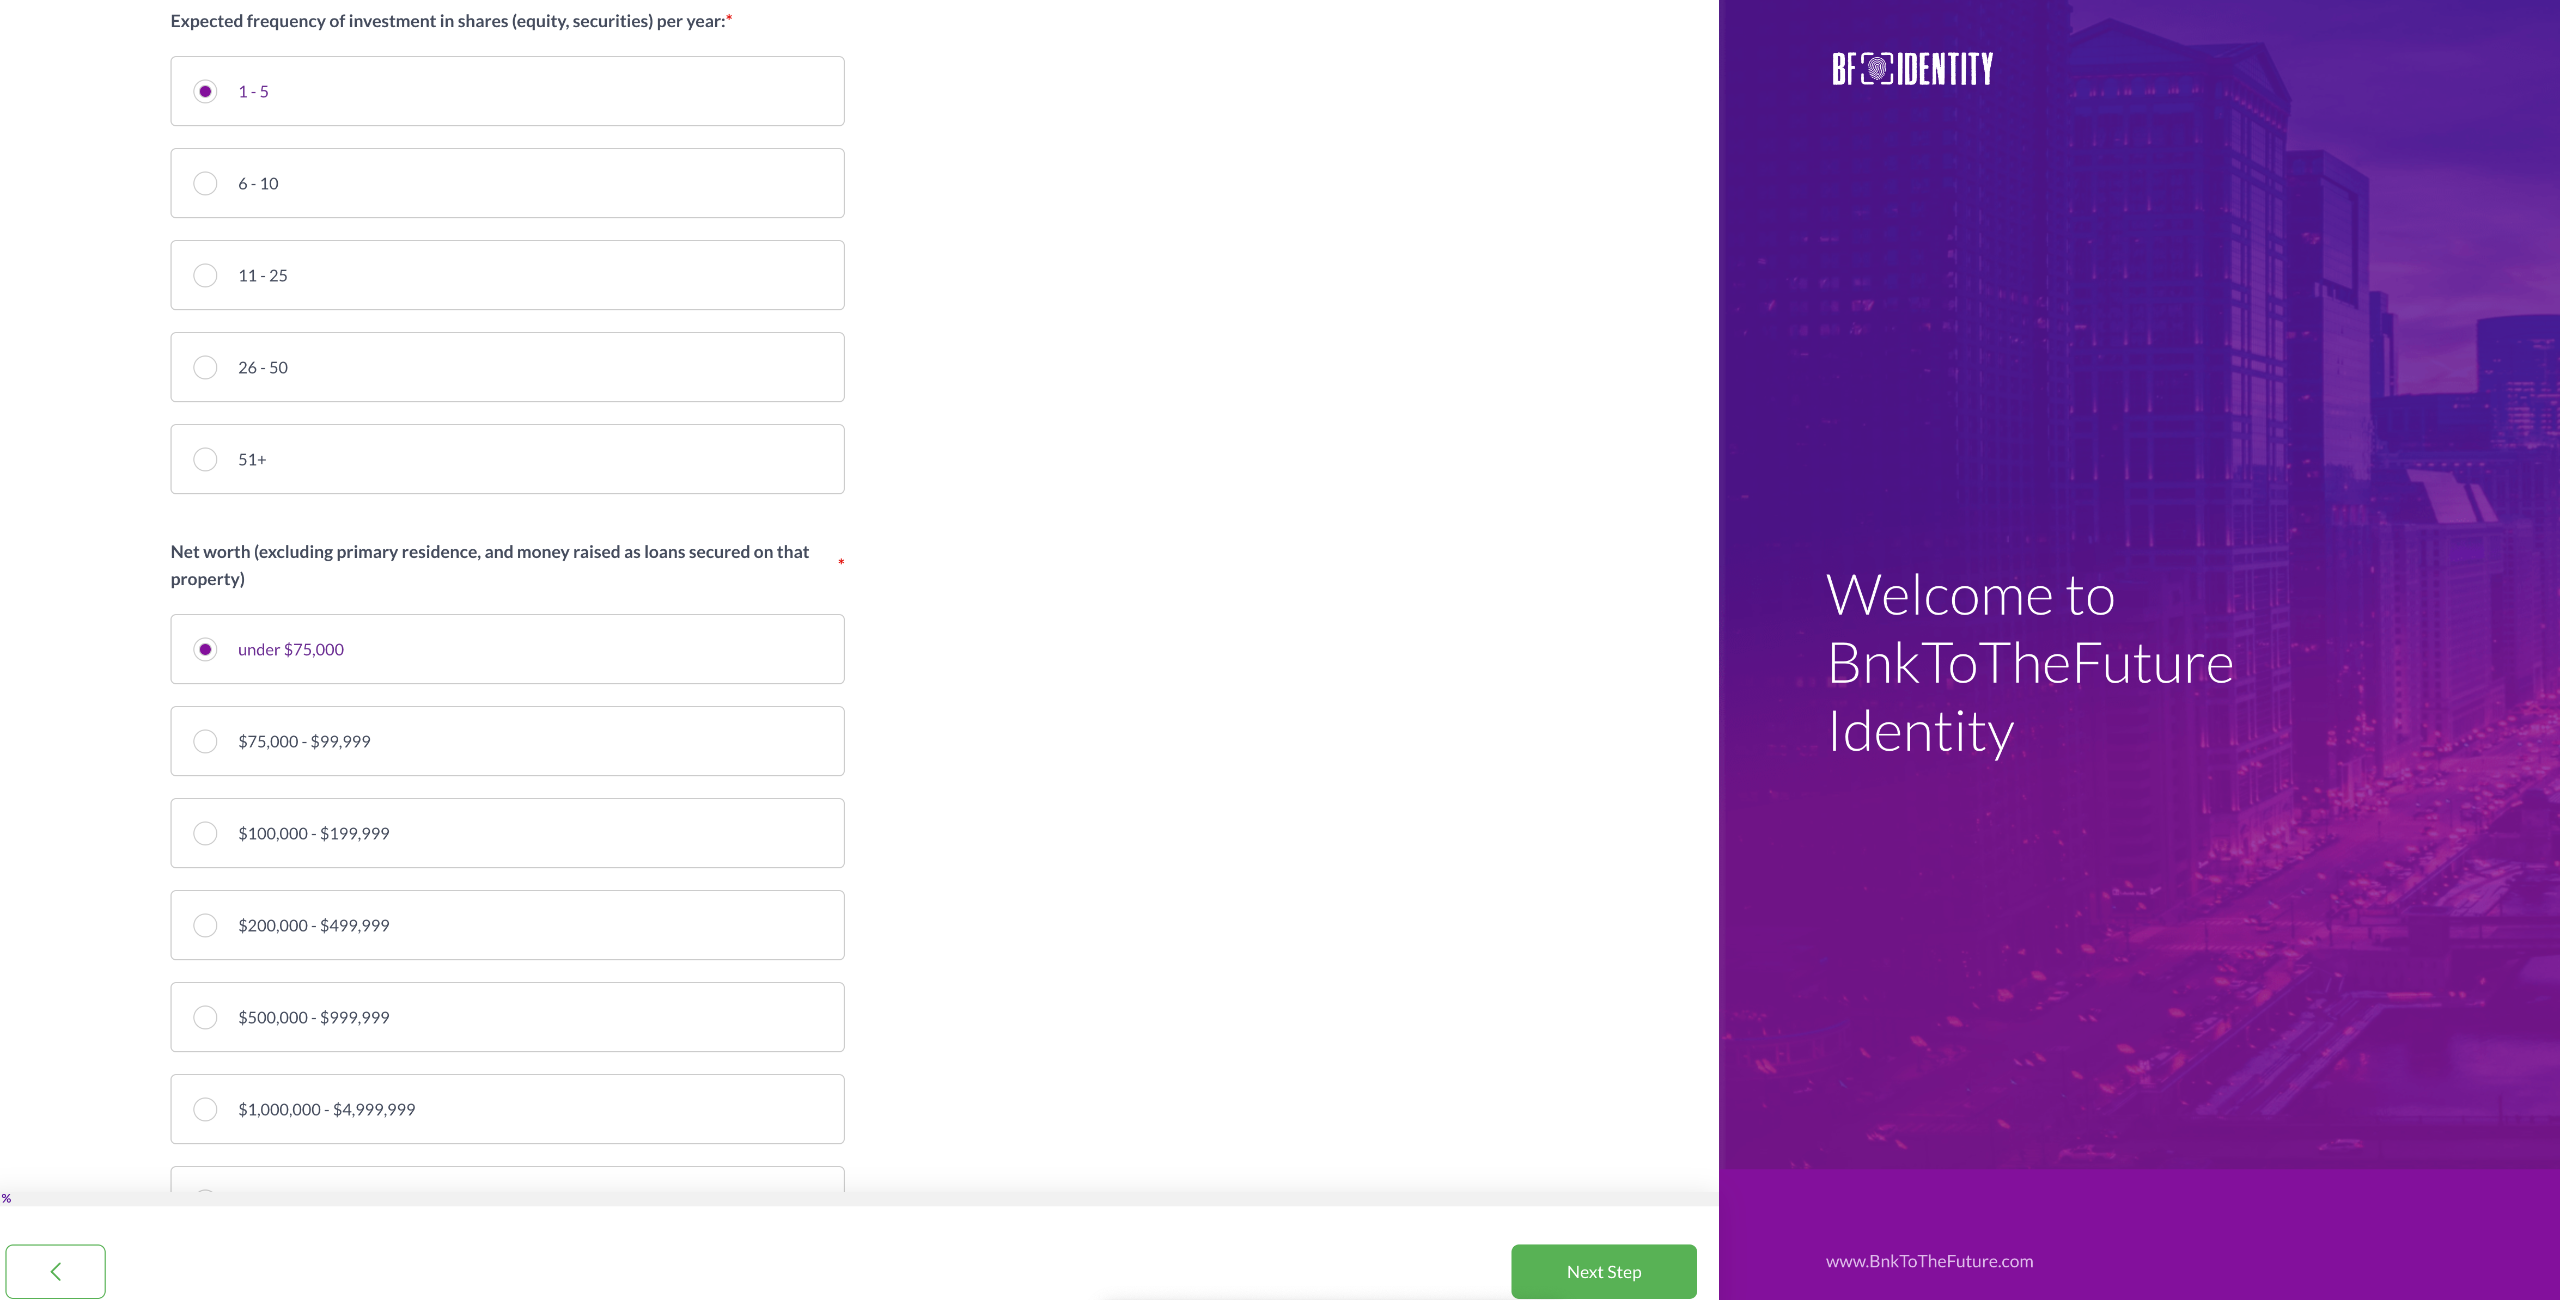
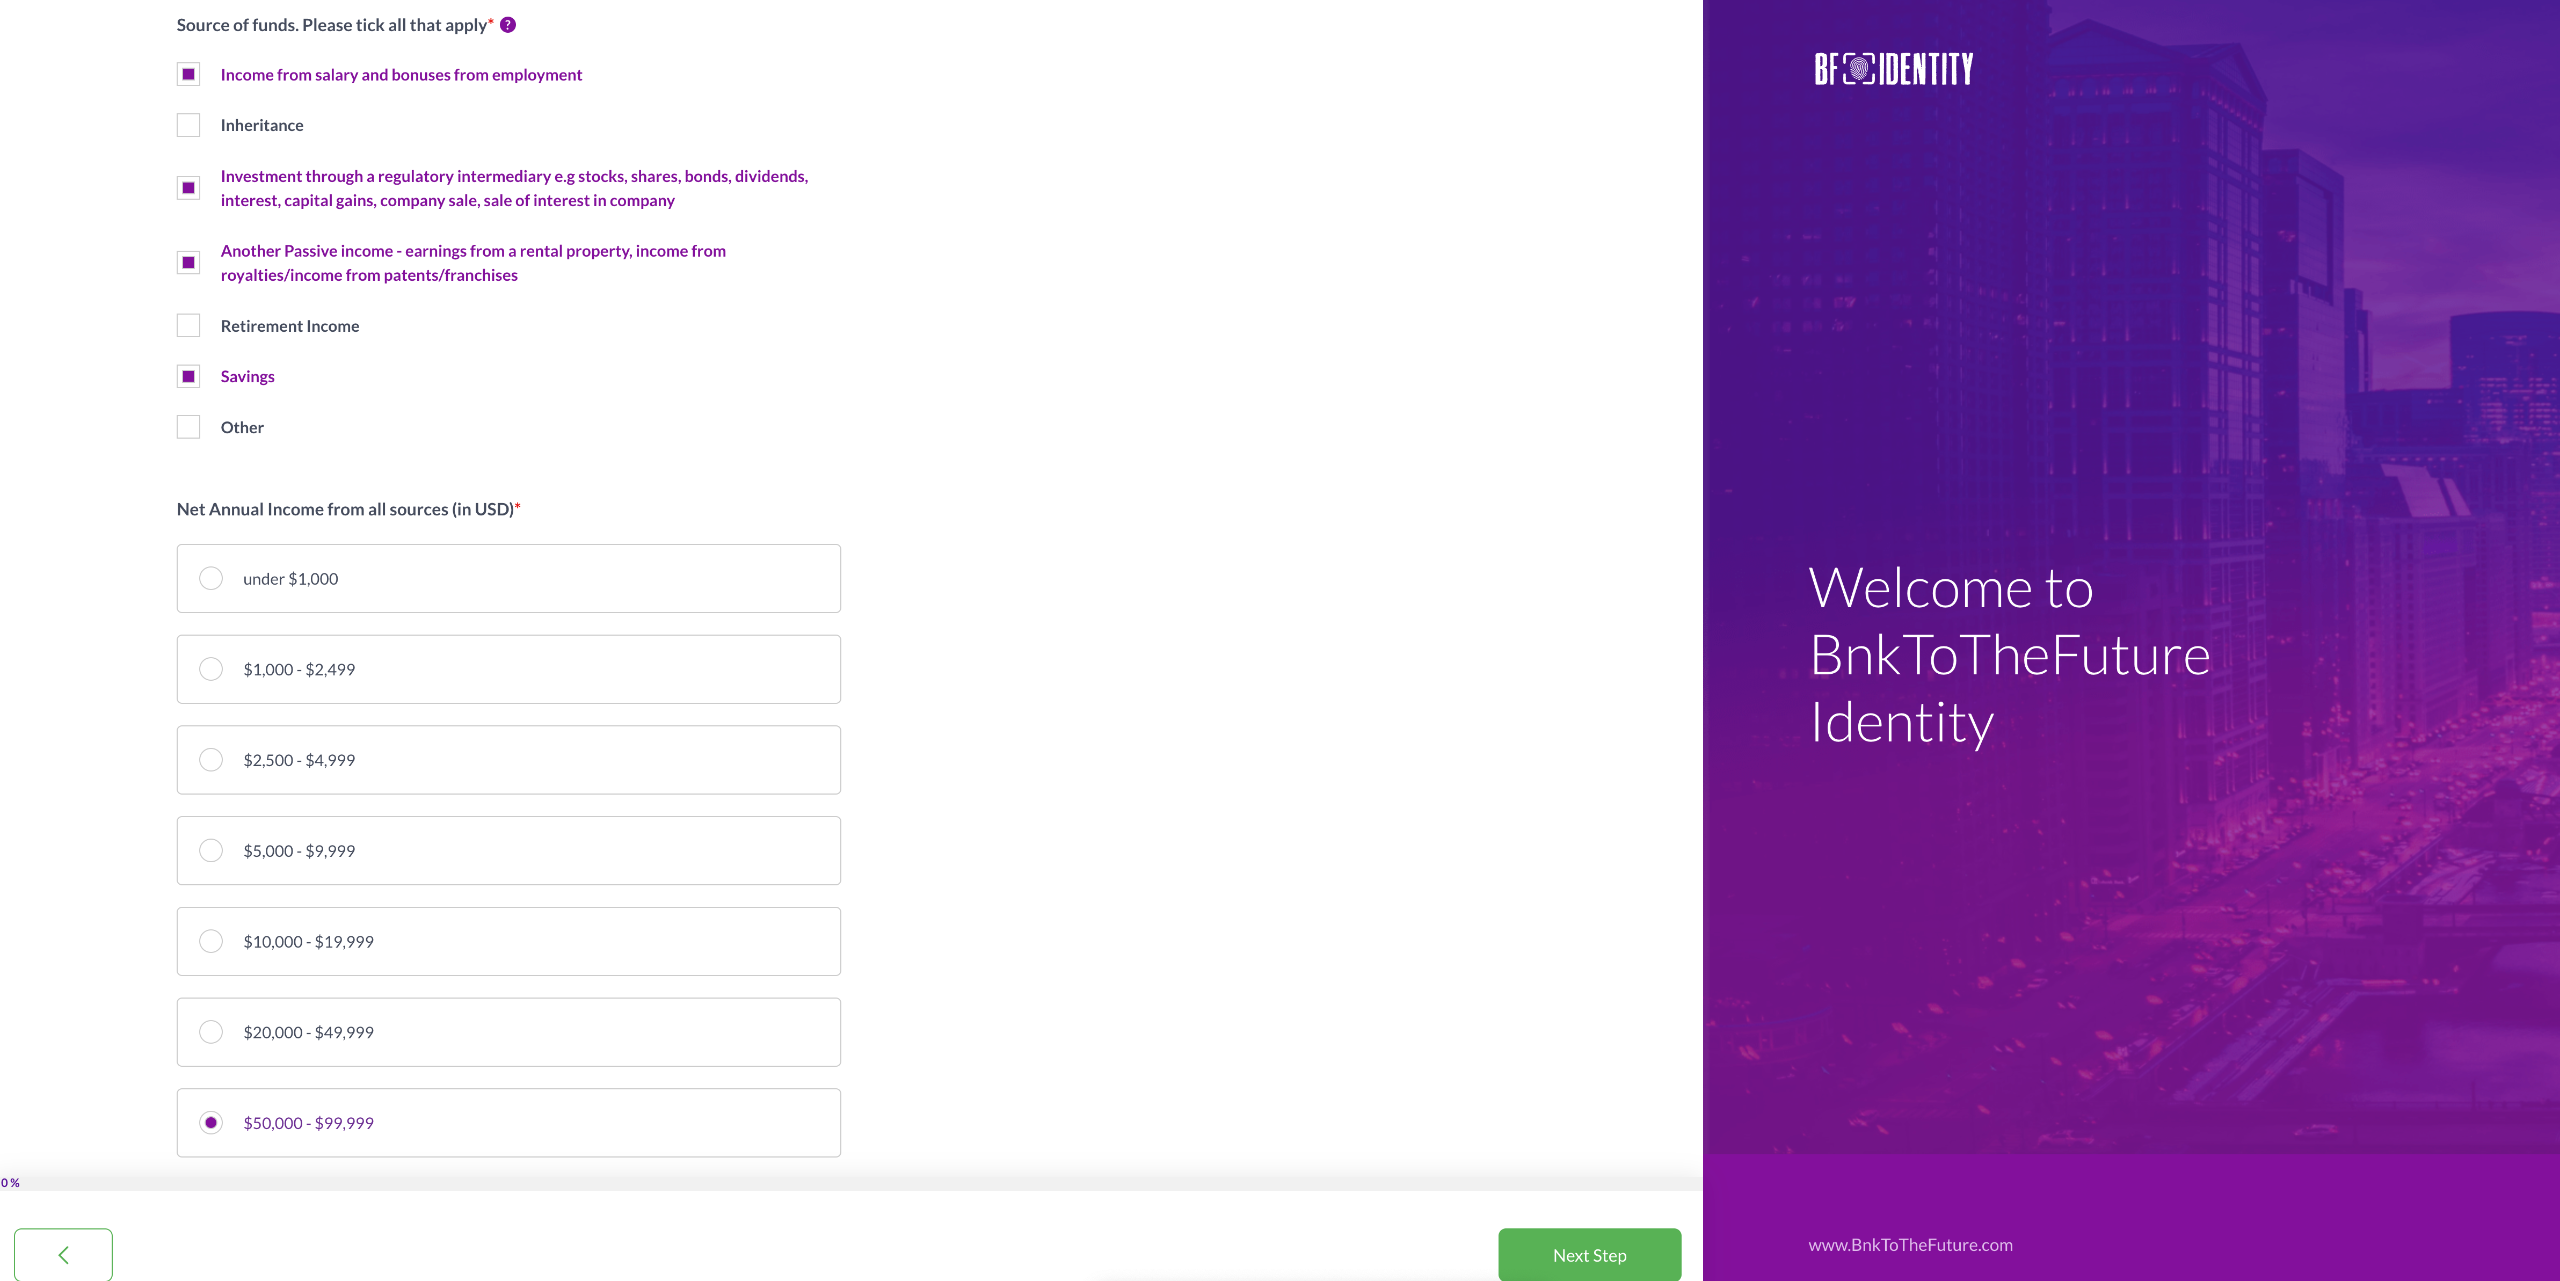
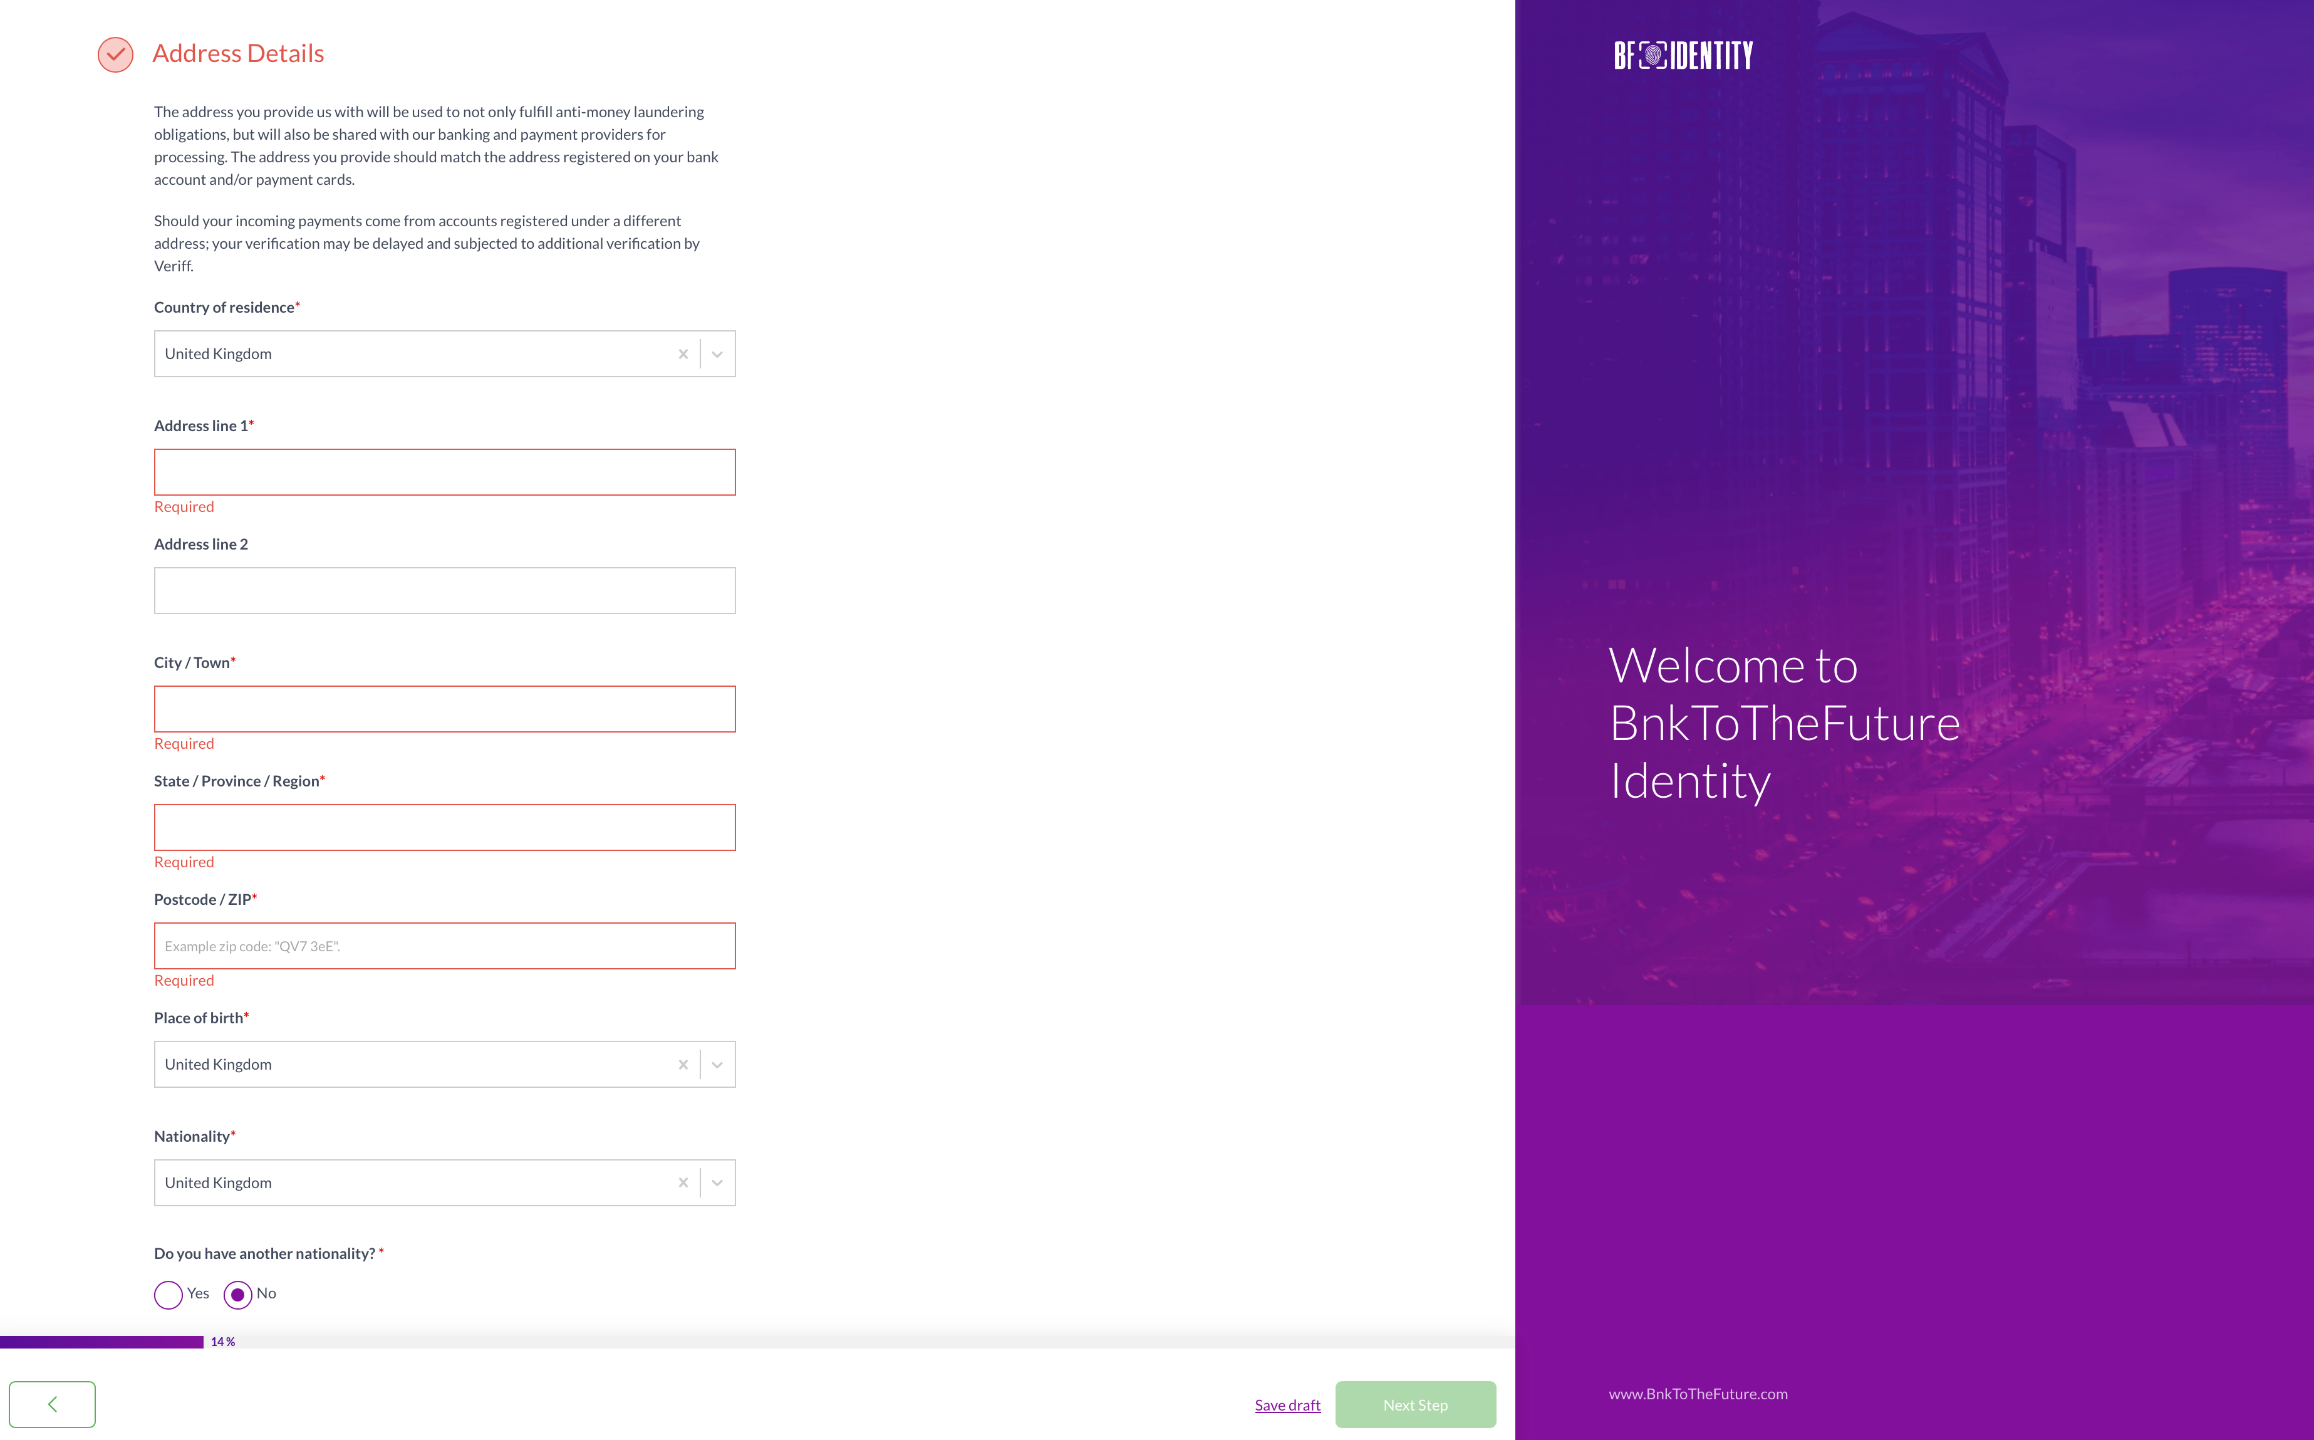
Kindly ensure the completion of all mandatory fields within the address details section.
The subsequent information is provided within this section; please take a moment to thoroughly read and comprehend it before proceeding:
The address you provide us with will be used to not only fulfill anti-money laundering obligations, but will also be shared with our banking and payment providers for processing. The address you provide should match the address registered on your bank account and/or payment cards.
Should your incoming payments come from accounts registered under a different address; your verification may be delayed and subjected to additional verification by Veriff.
Once you have diligently filled out all the necessary fields, please press the "Next Step" button when you are prepared to advance to the subsequent stage.
Step 5
Select from the Three Available Methods to Submit Proof of Address.
Option 1: Selfie with Proof of Address + Proof of Address as a document.
For this option, you'll need to have a physical proof of address on hand. Once you've obtained it, simply click the "Next Step" button to move forward to the subsequent stage.

Below, you'll find a screenshot that provides further instructions pertaining to this particular option.

Here's the information as presented in the screenshot above, offering guidance on how to provide proof of address:
Please upload a selfie of yourself holding the Proof of Address document. Please also upload separately the Proof of Address you were holding in the selfie (a scan or readable photo). The document should demonstrate your current residential address.
These can include:
- Bank Statements
- Regulated Financial Institution statements
- Credit card statements
- Utility bills - such as Gas bill, Electricity bill, Water bill, Internet bill
Please note: All documents need to be dated and less than 90 days old at the time of submission. The document must be in Roman Lettering, or if possible a certified English translation should be uploaded in addition to the original document.
Here's a practical example demonstrating how to capture a selfie photo of yourself while holding a document that serves as proof of address:

The image below serves as an illustrative example of the document displaying the address details that correspond to the document held in the selfie photo:

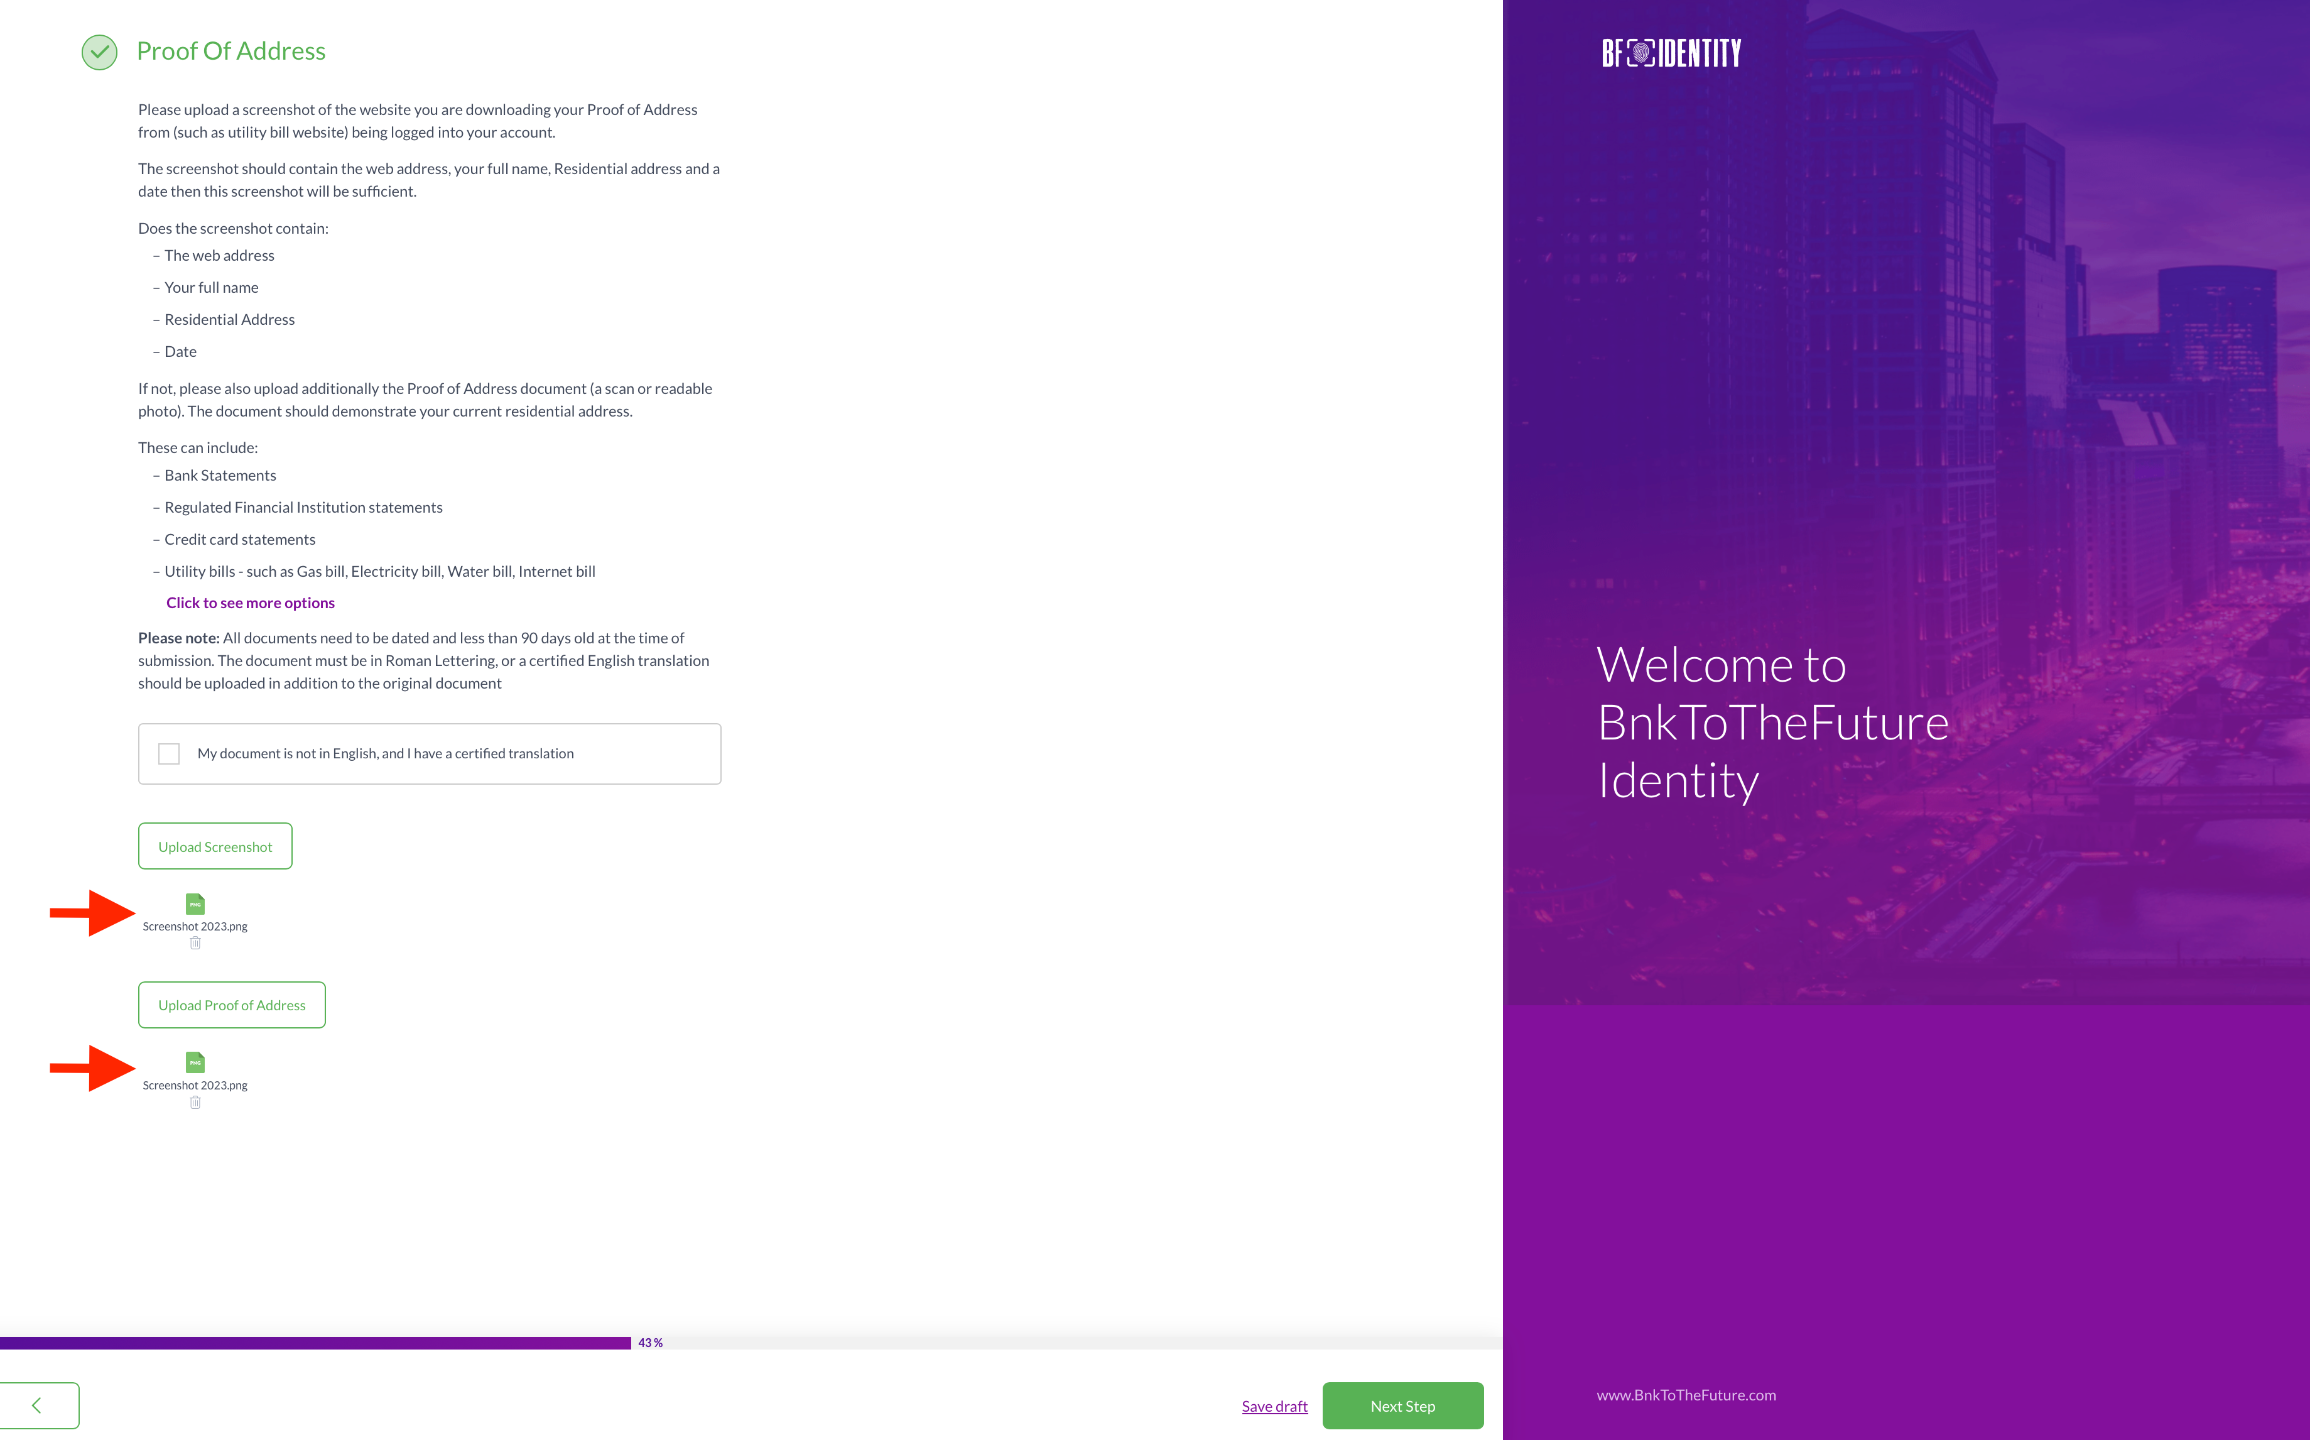
Option 2: “Screenshot while logged in your account + Proof of Address as a document”.
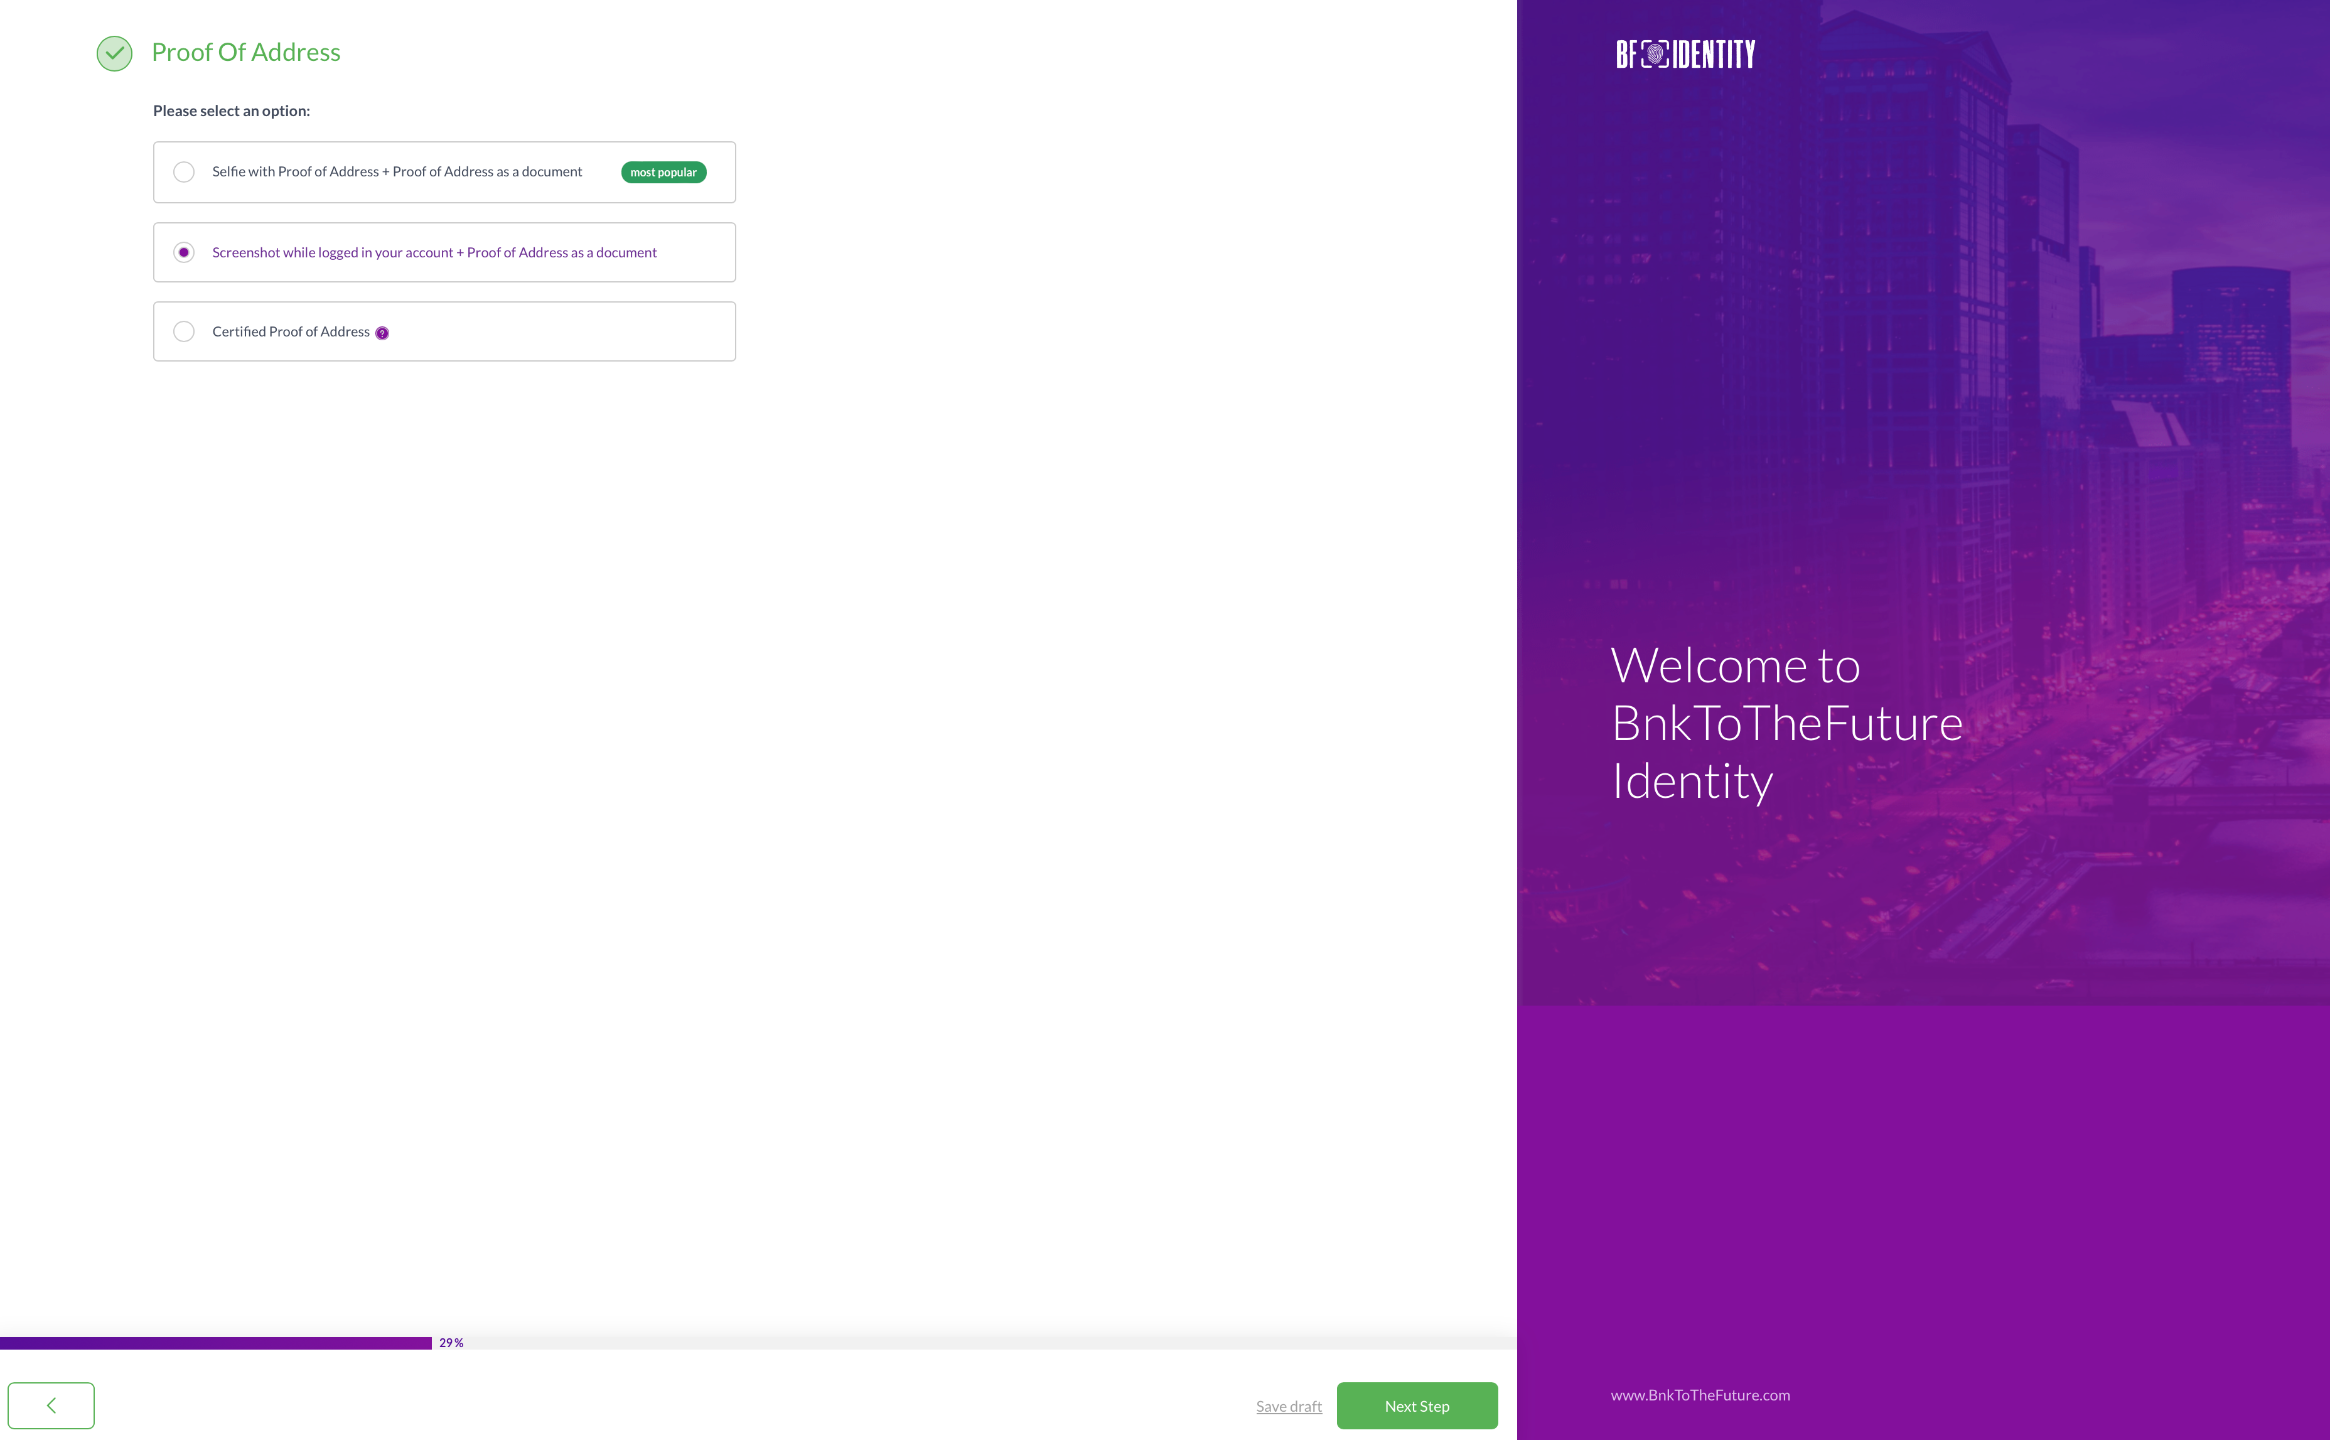
Below, you'll find a screenshot that offers additional instructions connected to this particular choice.

The provided instructions are outlined below:
Please upload a screenshot of the website you are downloading your Proof of Address from (such as utility bill website) being logged into your account.
The screenshot should contain the web address, your full name, Residential address and a date then this screenshot will be sufficient.
Does the screenshot contain:
If not, please also upload additionally the Proof of Address document (a scan or readable photo). The document should demonstrate your current residential address.
These can include:
- Regulated Financial Institution statements
- Credit card statements
- Utility bills - such as Gas bill, Electricity bill, Water bill, Internet bill
Please note: All documents need to be dated and less than 90 days old at the time of submission. The document must be in Roman Lettering, or a certified English translation should be uploaded in addition to the original document
Illustrative Screenshots for Address Verification:


After successfully uploading the necessary documents and photos, kindly proceed by clicking the "Next Steps" button.
Option 3: Certified Proof of Address
The "certified proof of address" option entails providing an official document that has been verified by a reputable authority. This document serves as evidence of your current residential address. The verification process ensures that the address mentioned in the document is accurate and reliable, adding credibility to your submission. By selecting this option, you'll be uploading a certified document to establish the authenticity of your address information.
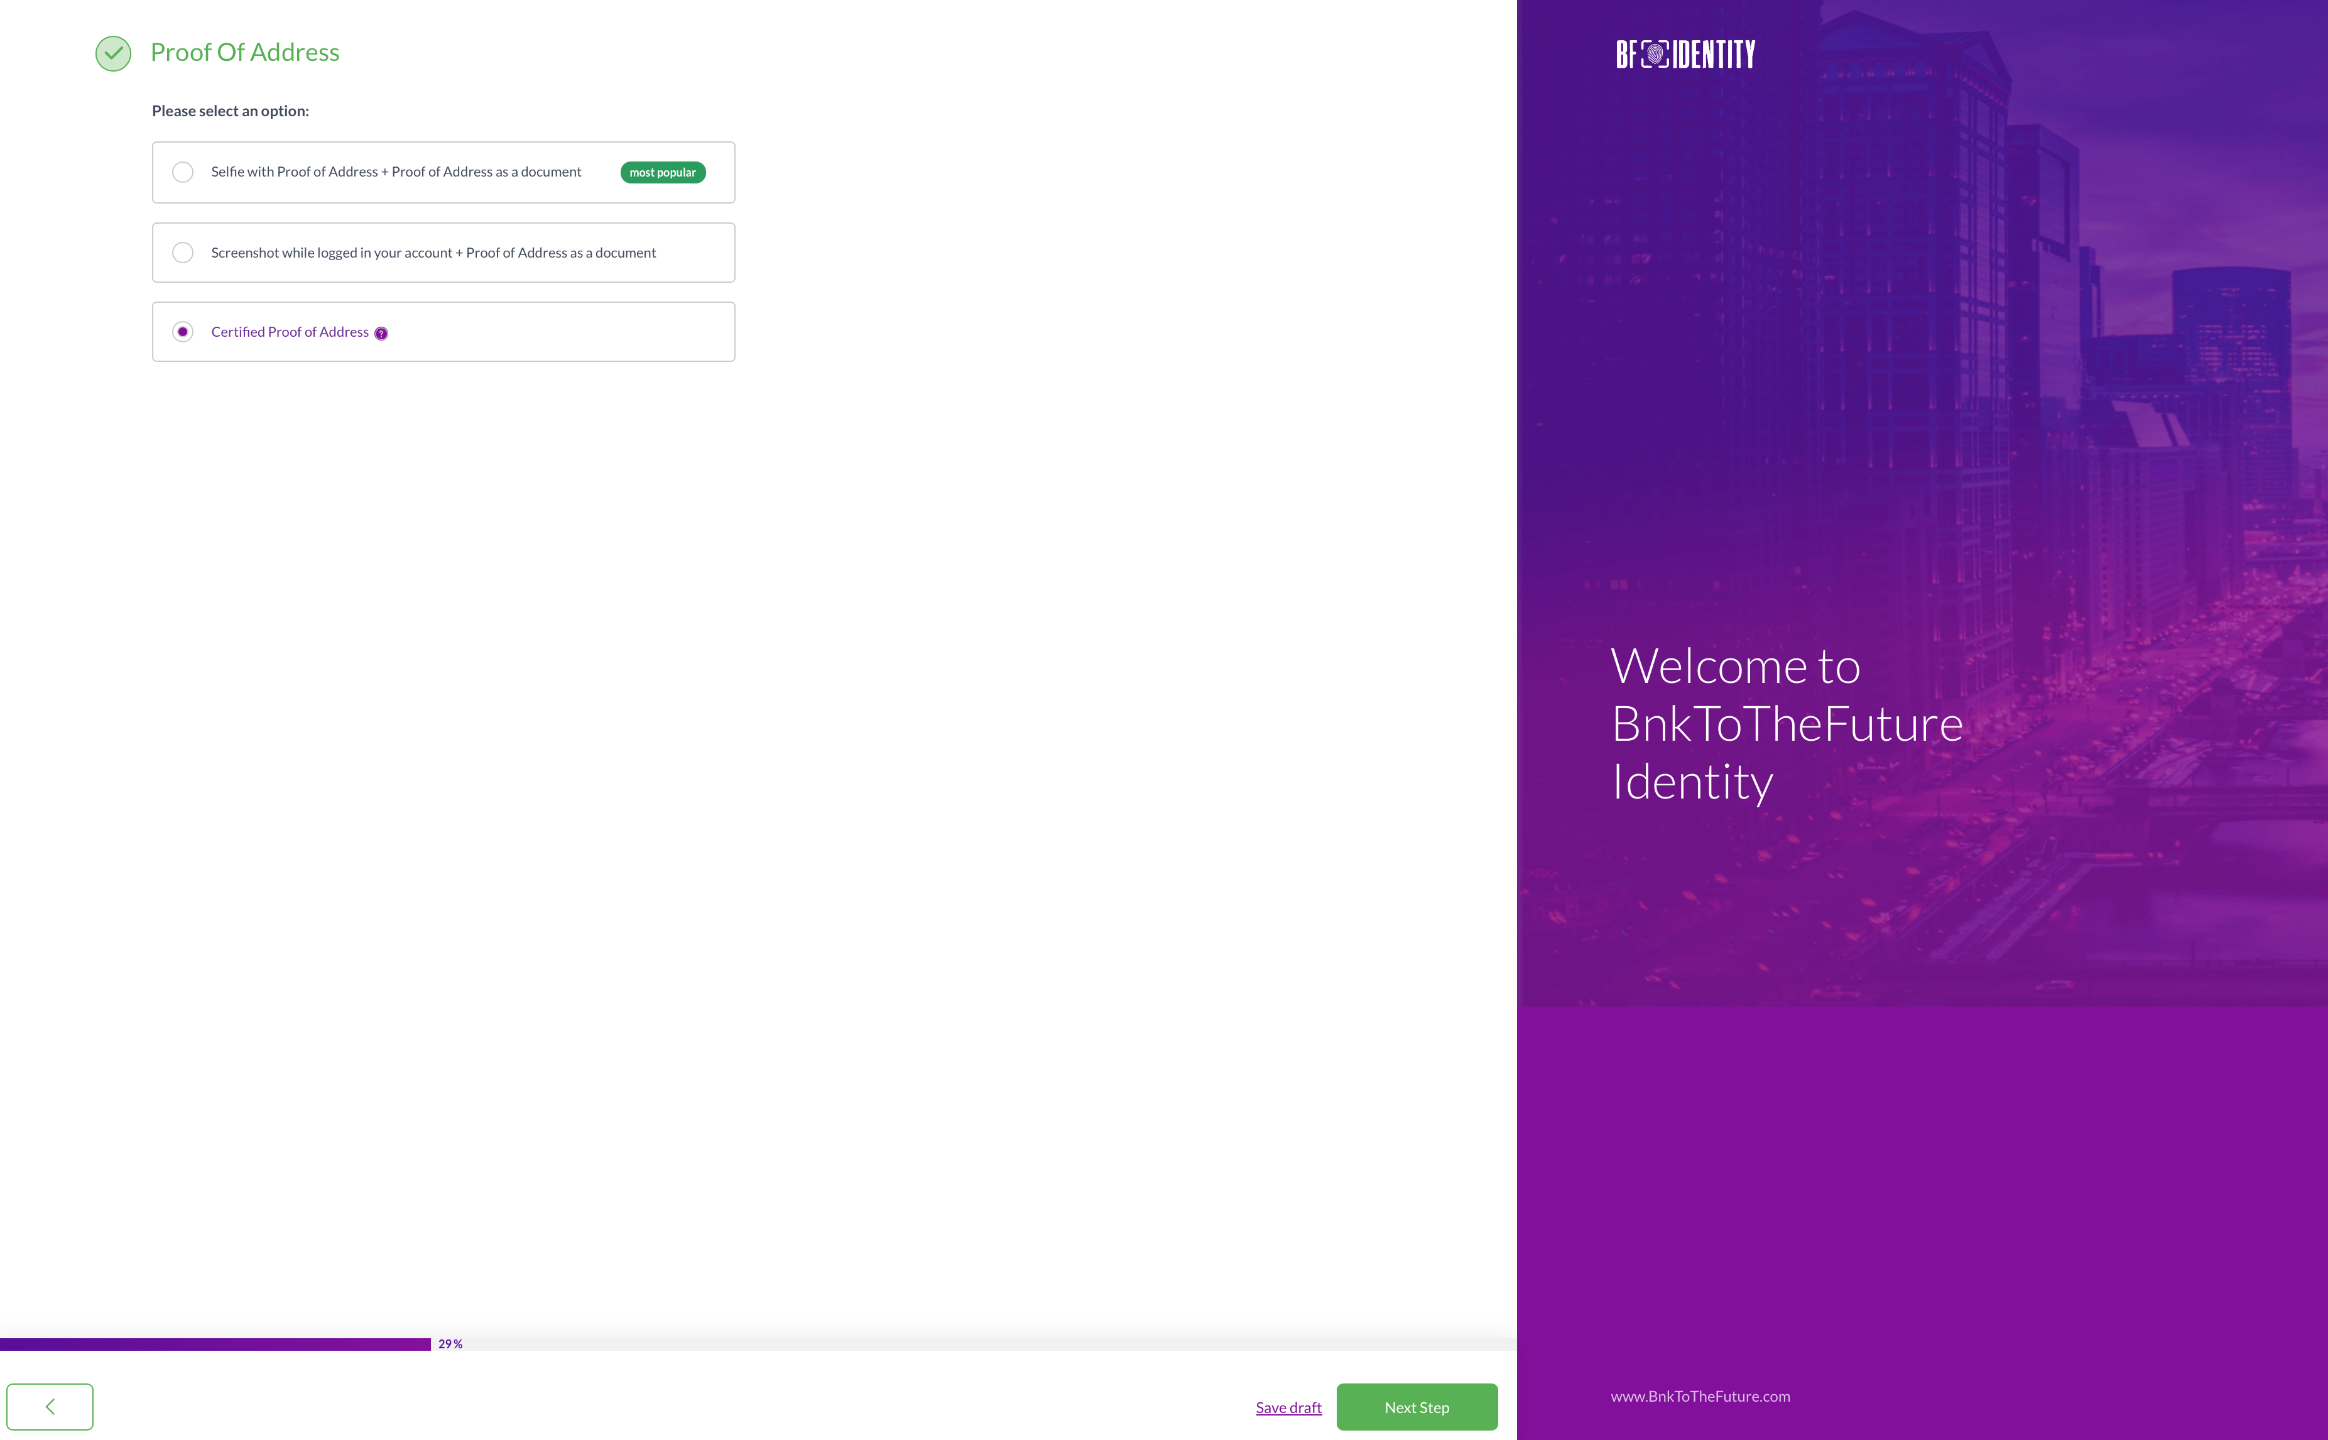
Displayed below is a screenshot offering additional guidance pertaining to this specific choice.

The instructions read as follows:
Please upload a certified document demonstrating your current residential address.
These can include:
- Regulated Financial Institution statements
- Credit card statements
- Utility bills - such as Gas bill, Electricity bill, Water bill, Internet bill
Please note: All documents need to be dated and less than 90 days old at the time of submission. The document must be in Roman Lettering, or a certified English translation should be uploaded in addition to the original document.
Copies must be certified by a suitable certifier, for example a lawyer, accountant, notary public, member of the judiciary, embassy official, director or manager of an authorised credit or financial institution or serving police officer. Take the photocopied document and the original and ask the person to certify the copy by: writing ‘Certified to be a true copy of the original seen by me’ on the document; signing and dating it; printing their name under the signature; adding their occupation; address and telephone number.
Below, you'll find illustrative screenshot examples showcasing what a certified proof of address might resemble:
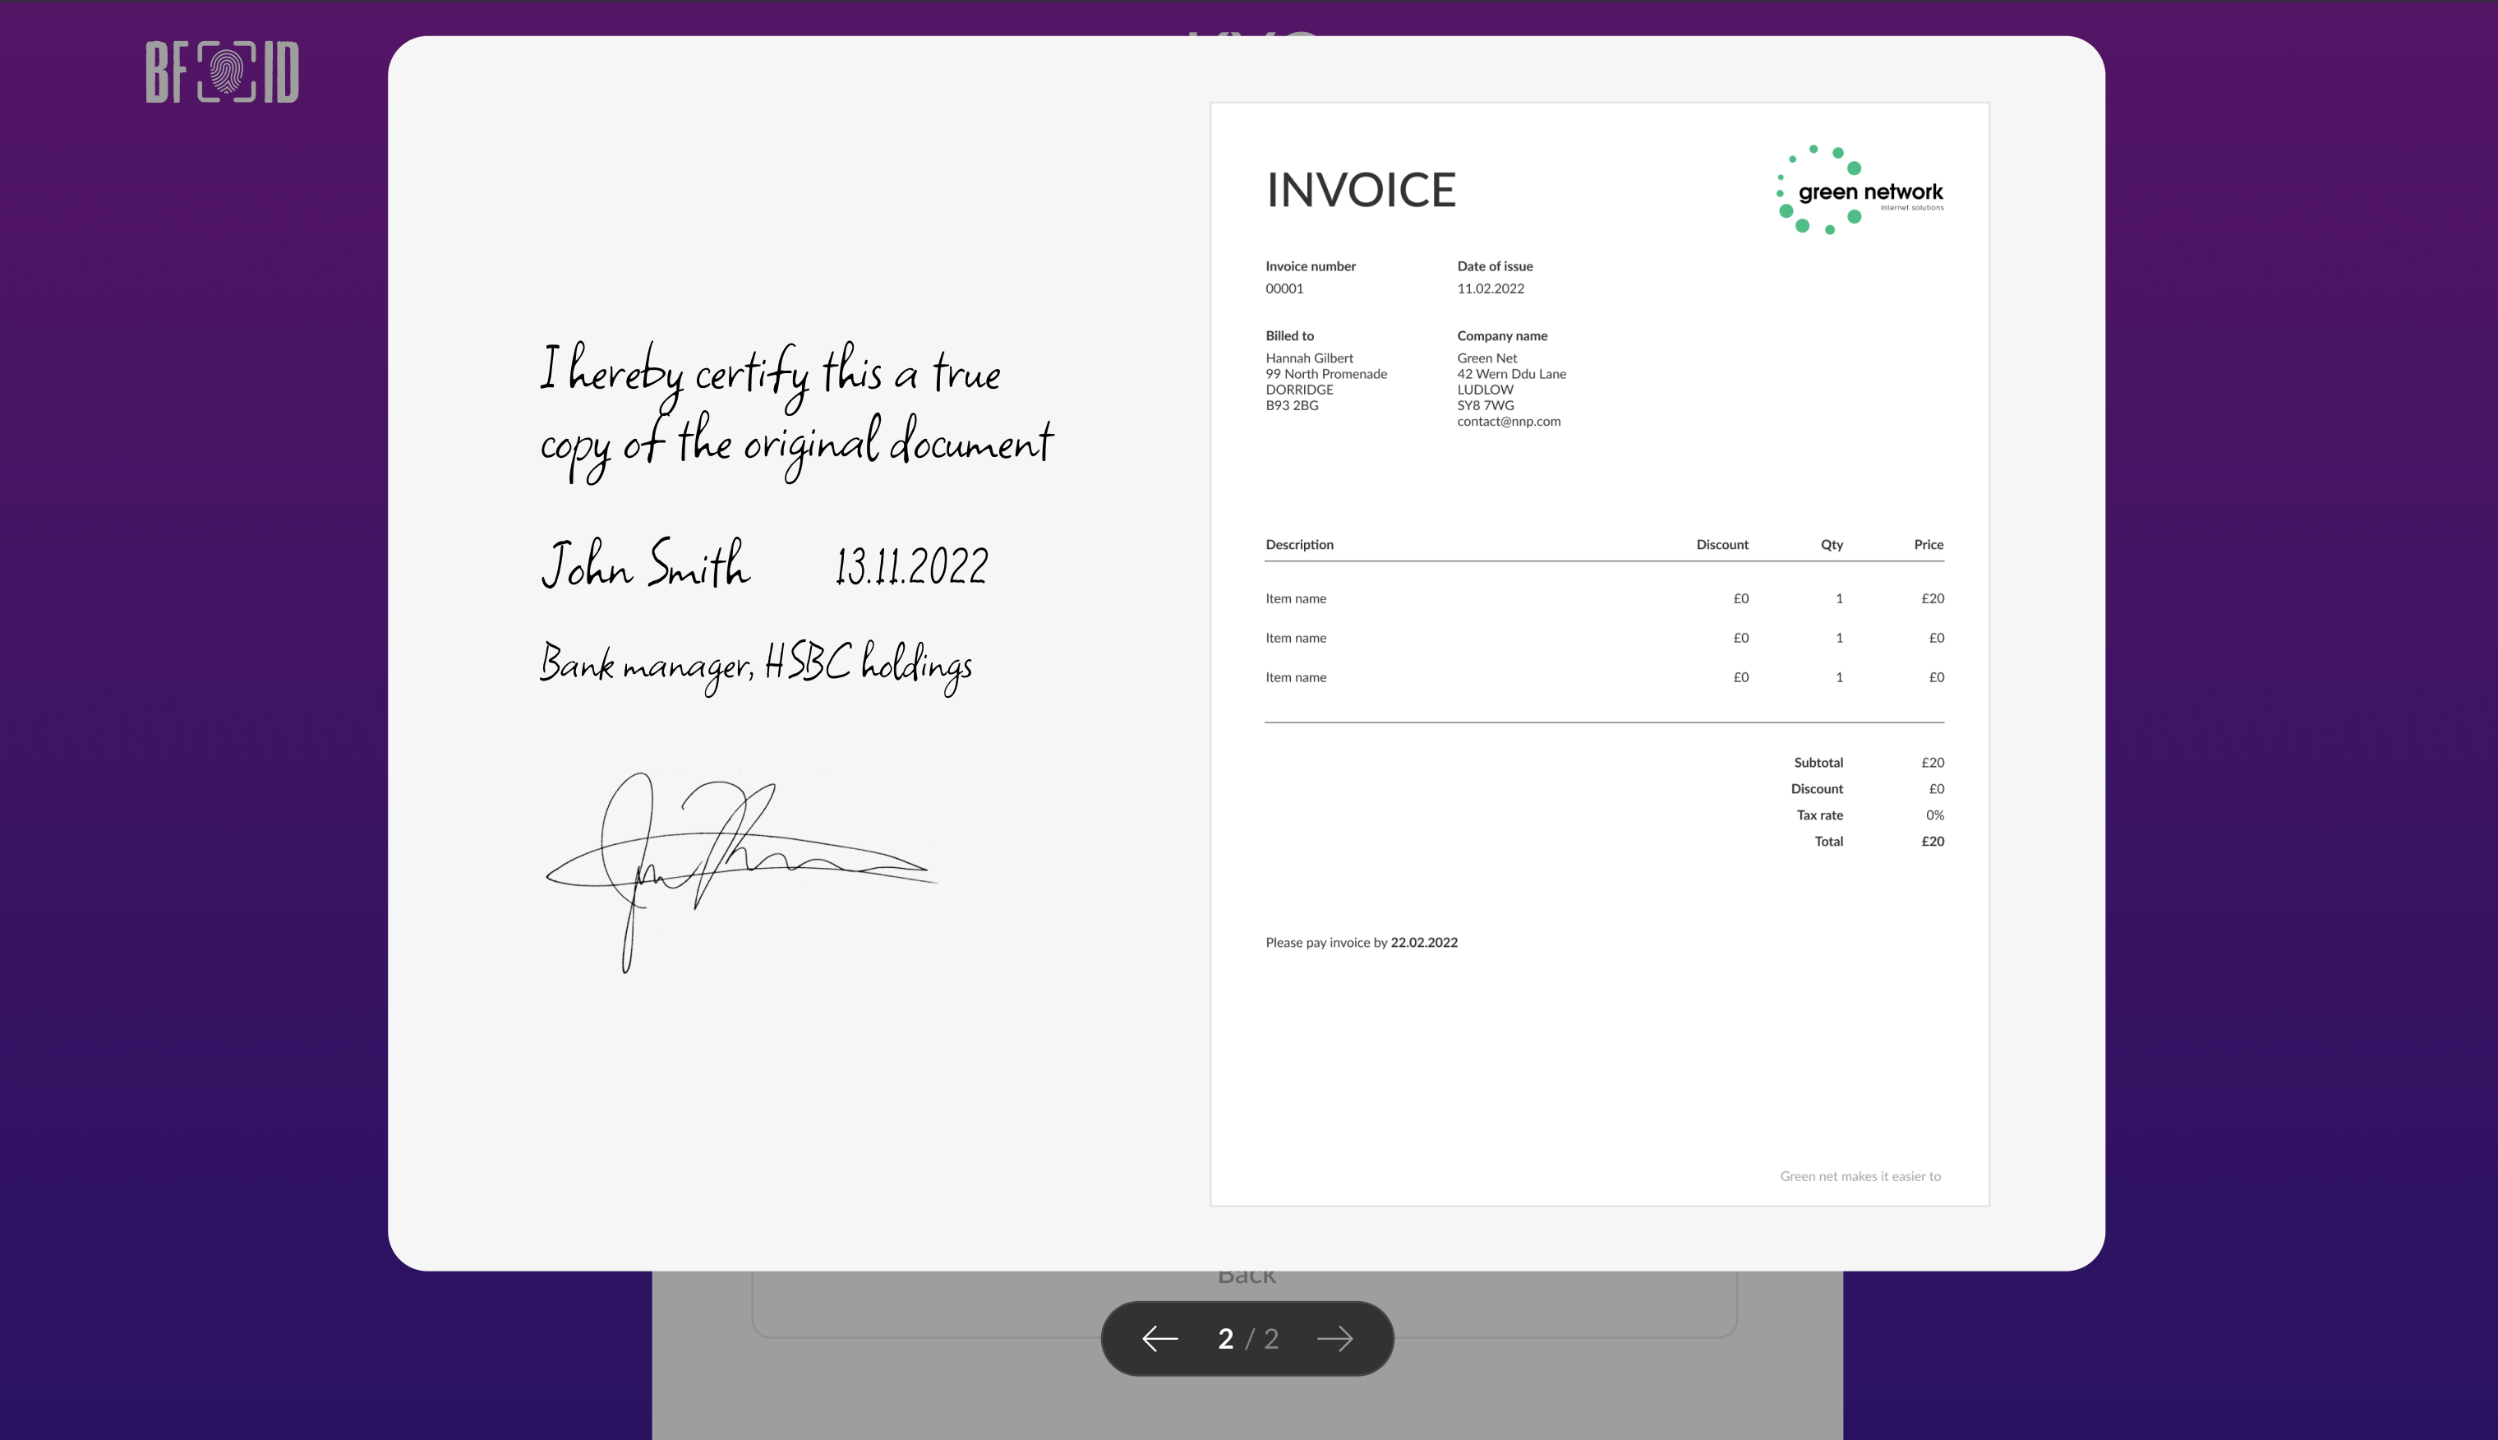
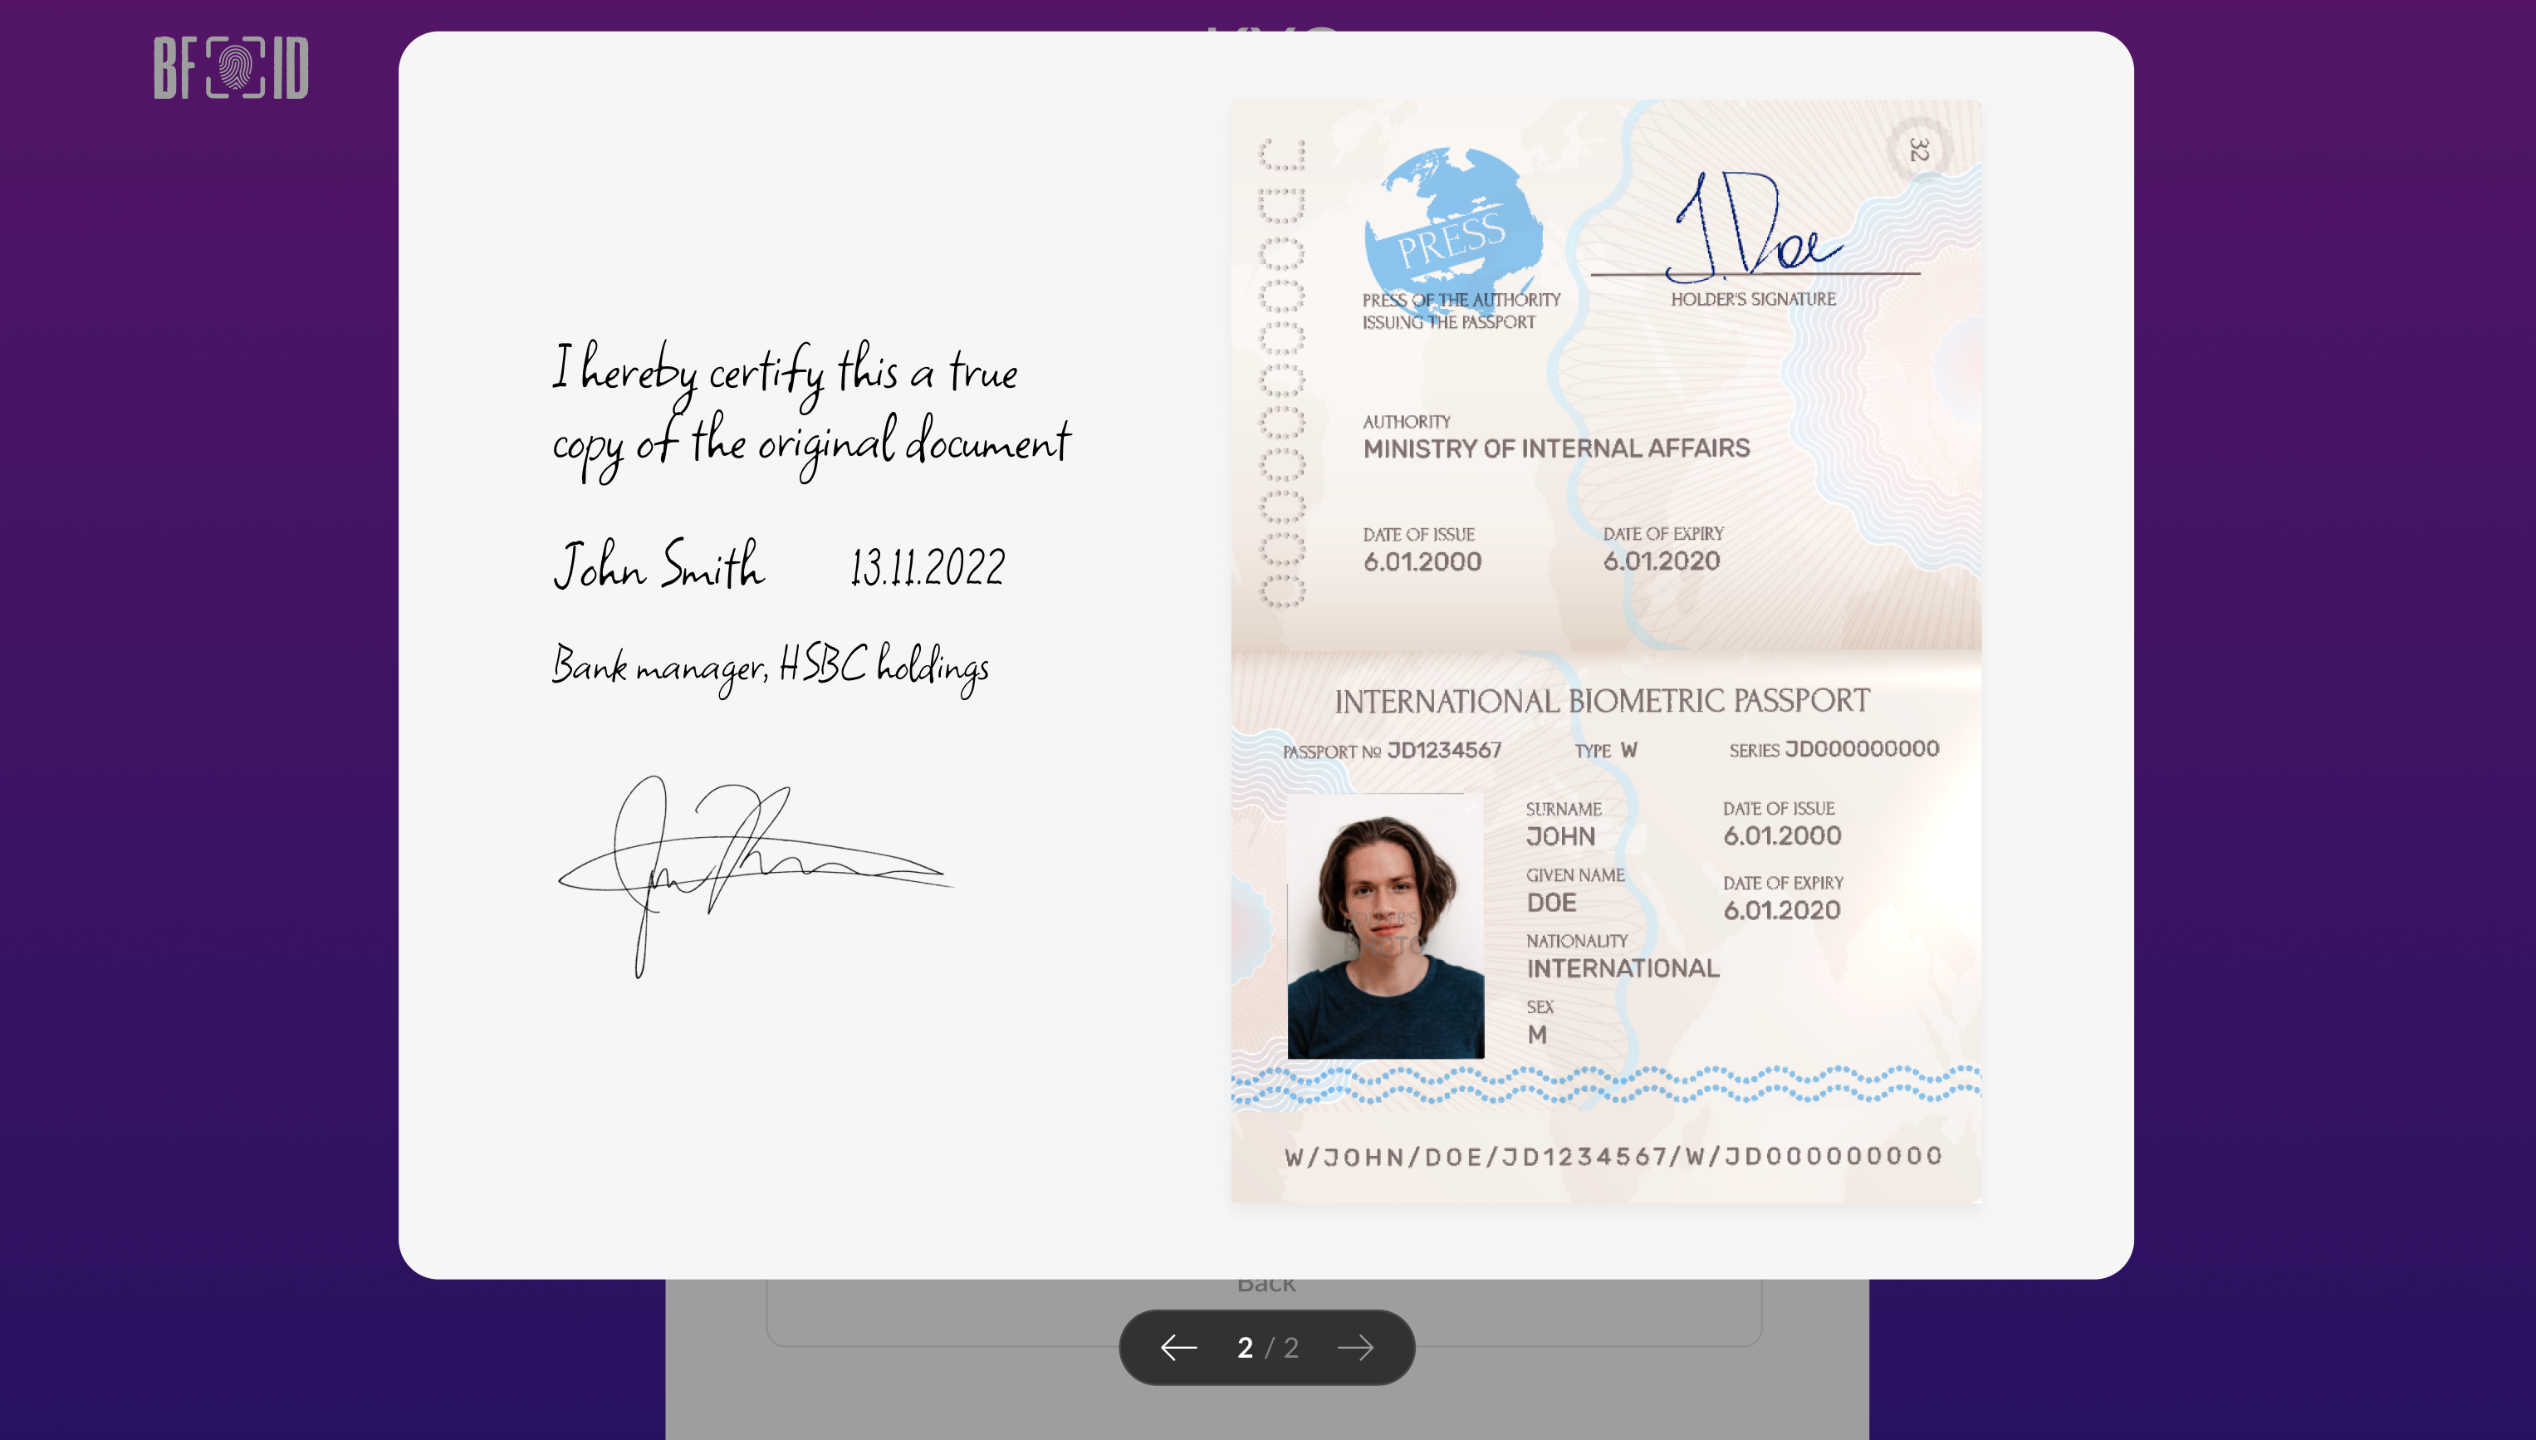

Upon successfully uploading the necessary documents and photographs, kindly proceed by selecting the "Next Steps" button.
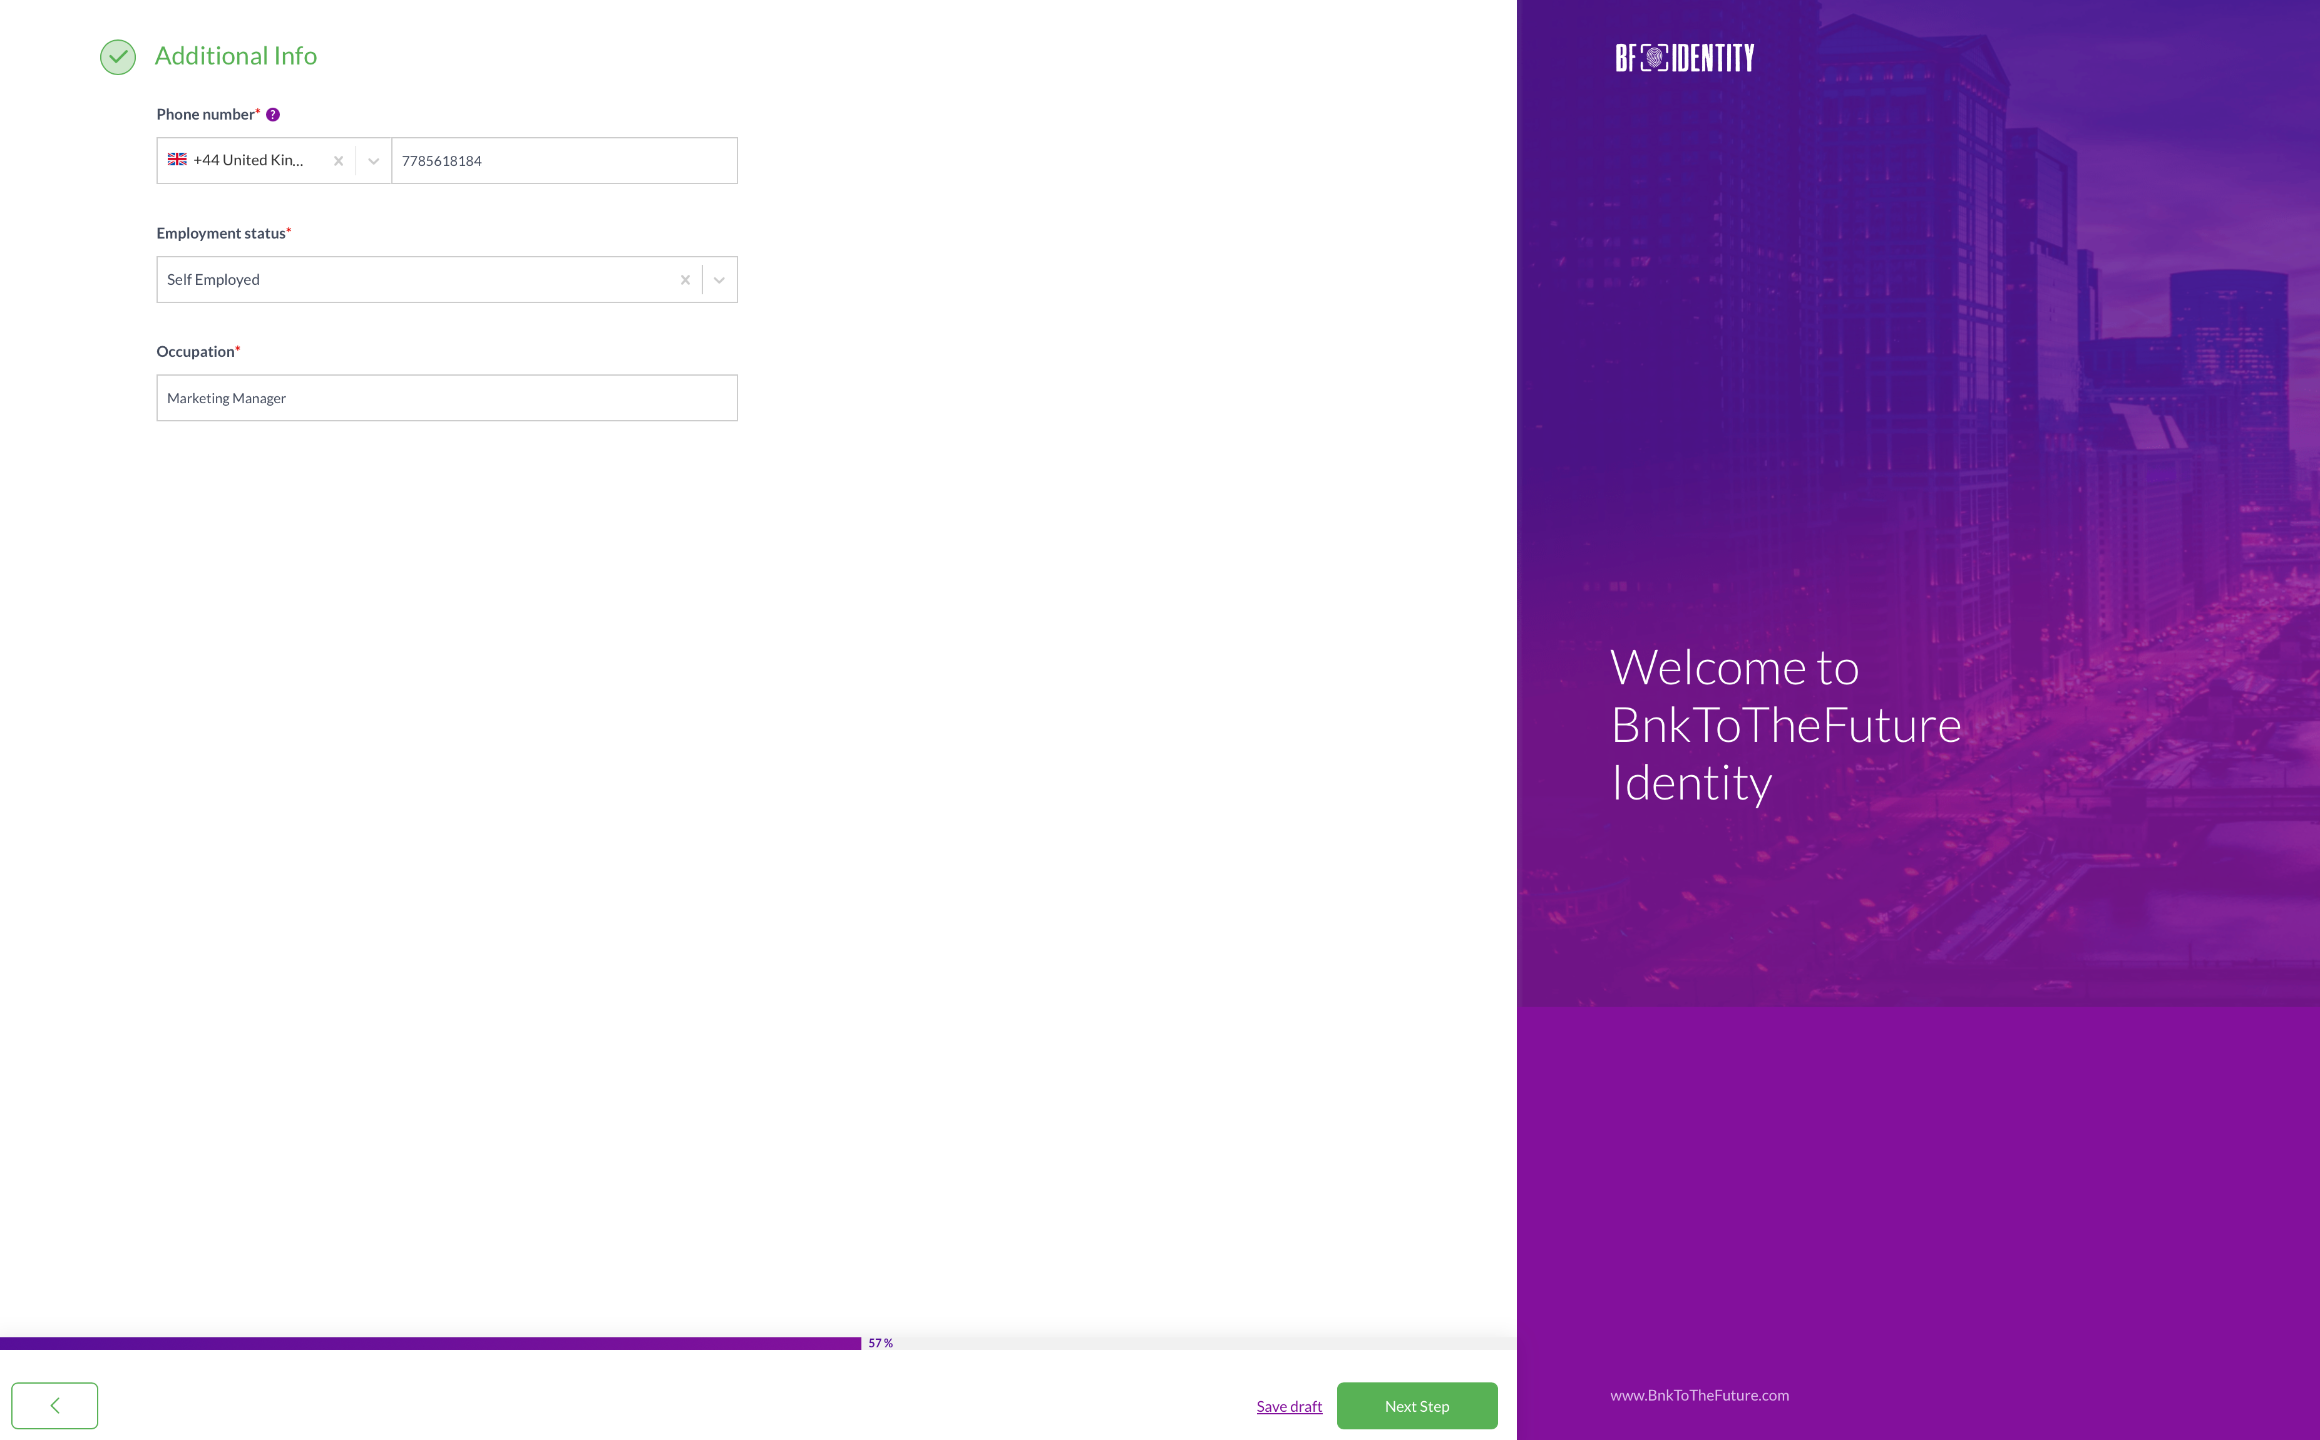
Step 6
This step involves entering your contact number, employment status, and occupation – all three are mandatory fields. For your phone number, please ensure you choose the correct country where your phone network operates. Your employment status can be selected from a dropdown menu. After filling in these details, simply press the "Next Step" button to proceed.
Step 7
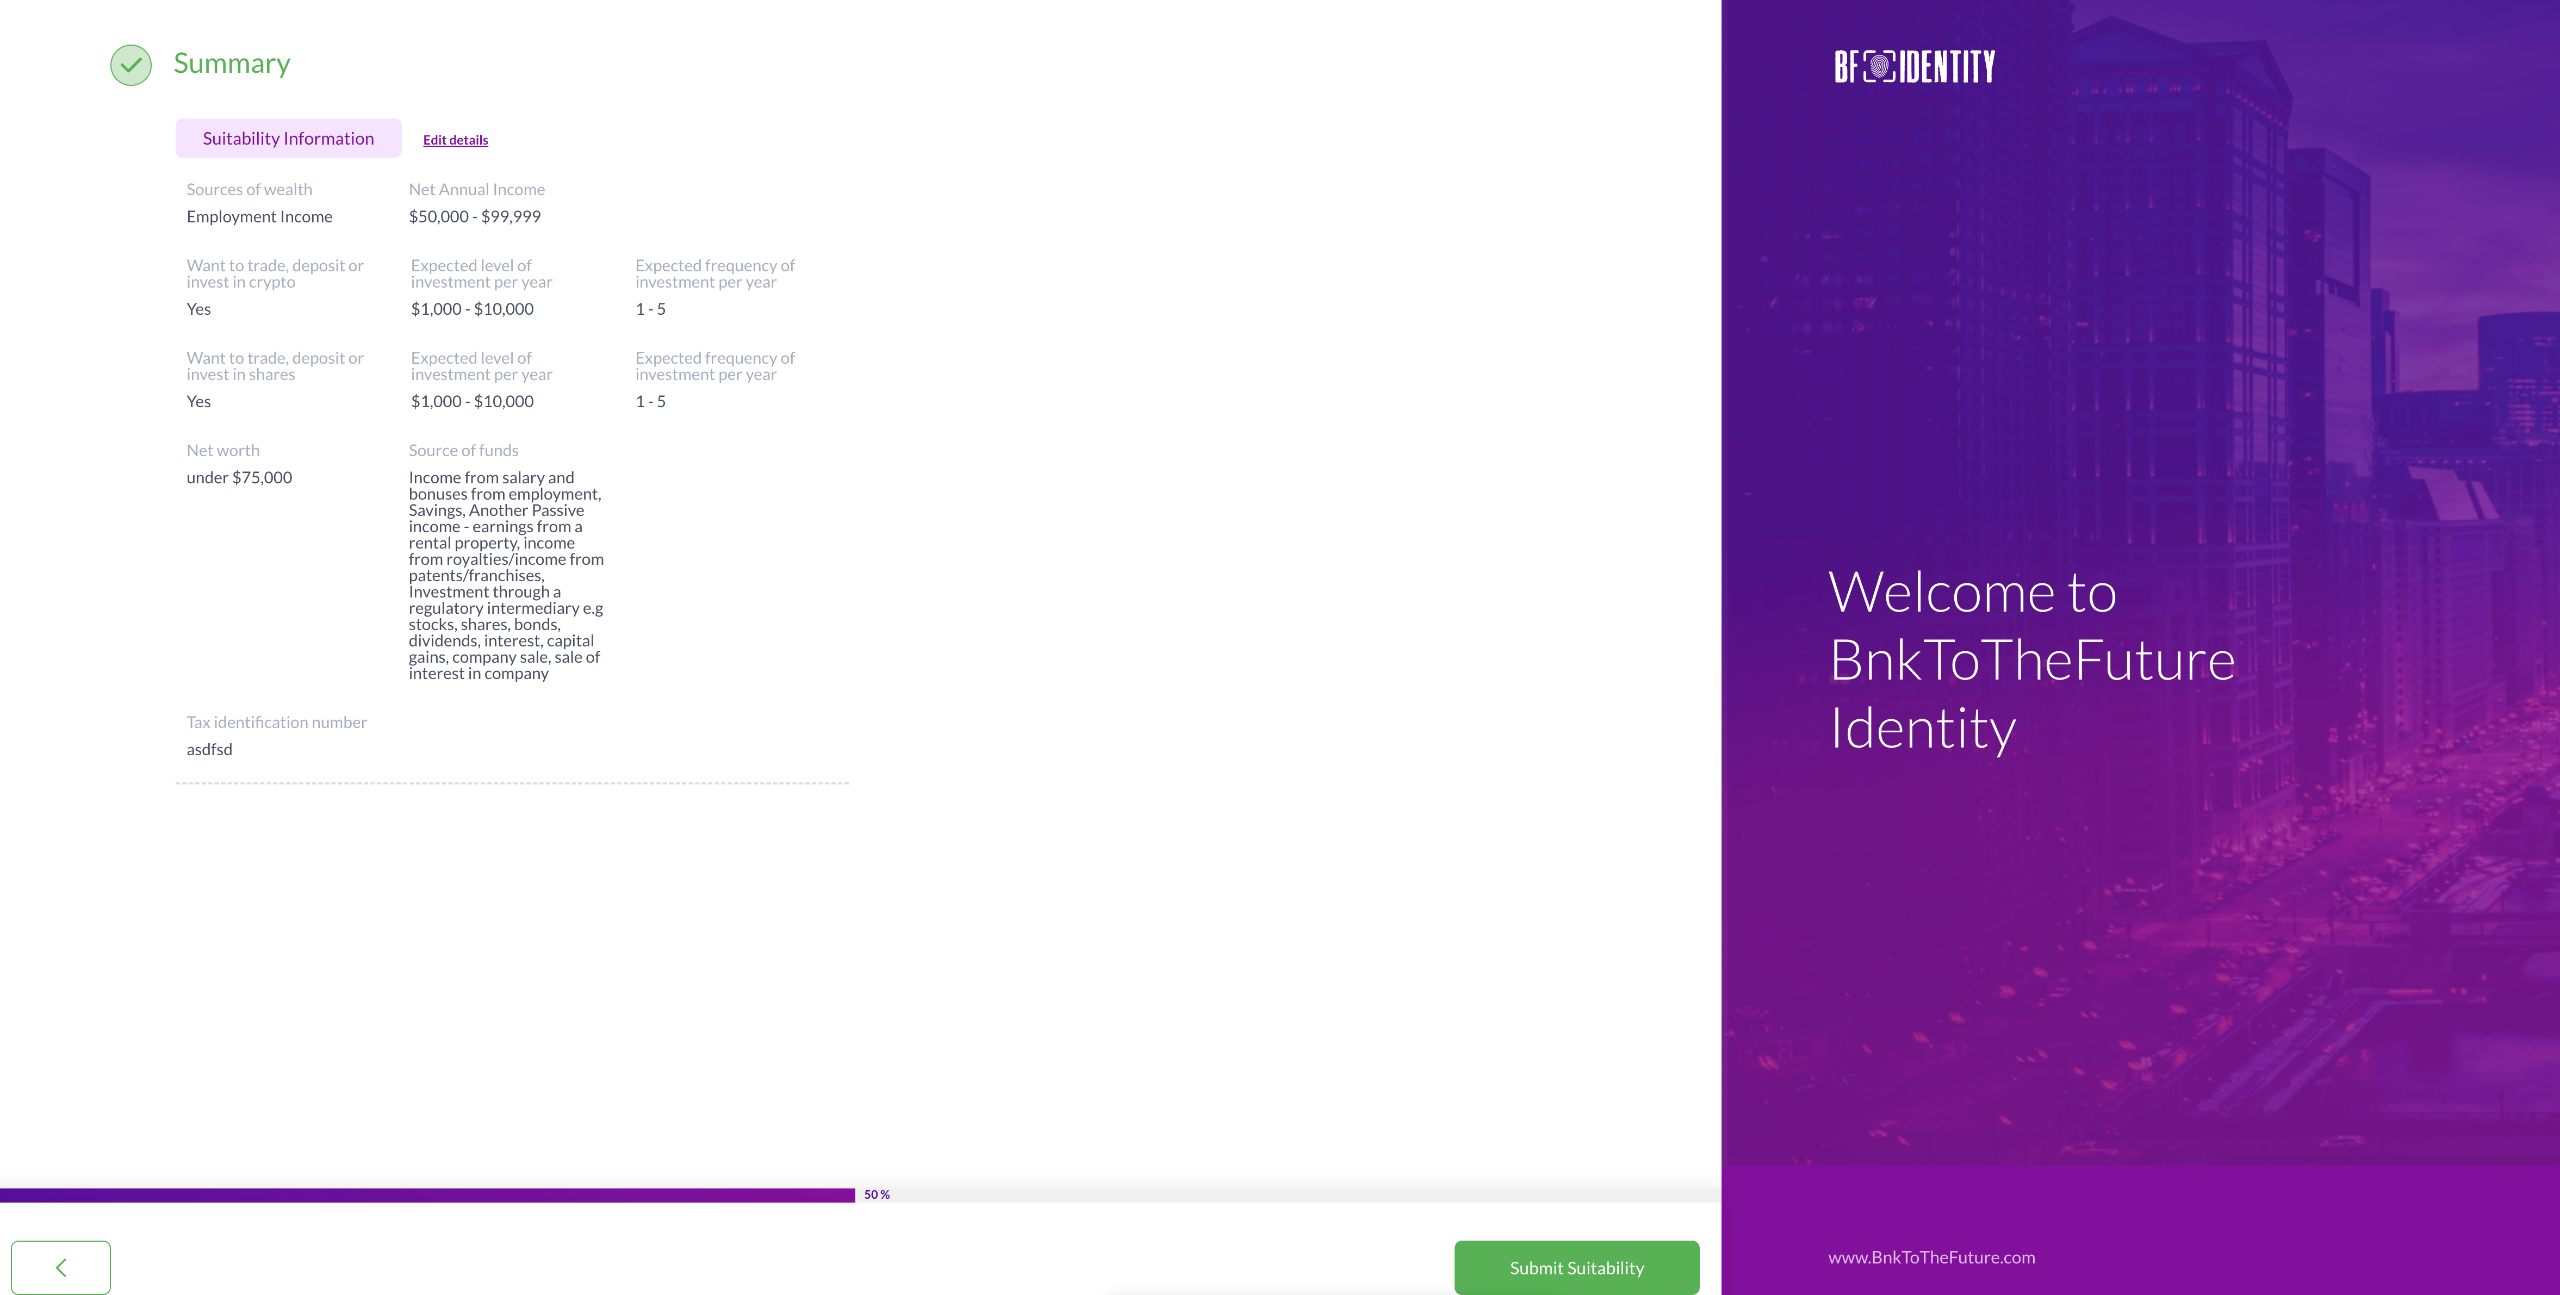
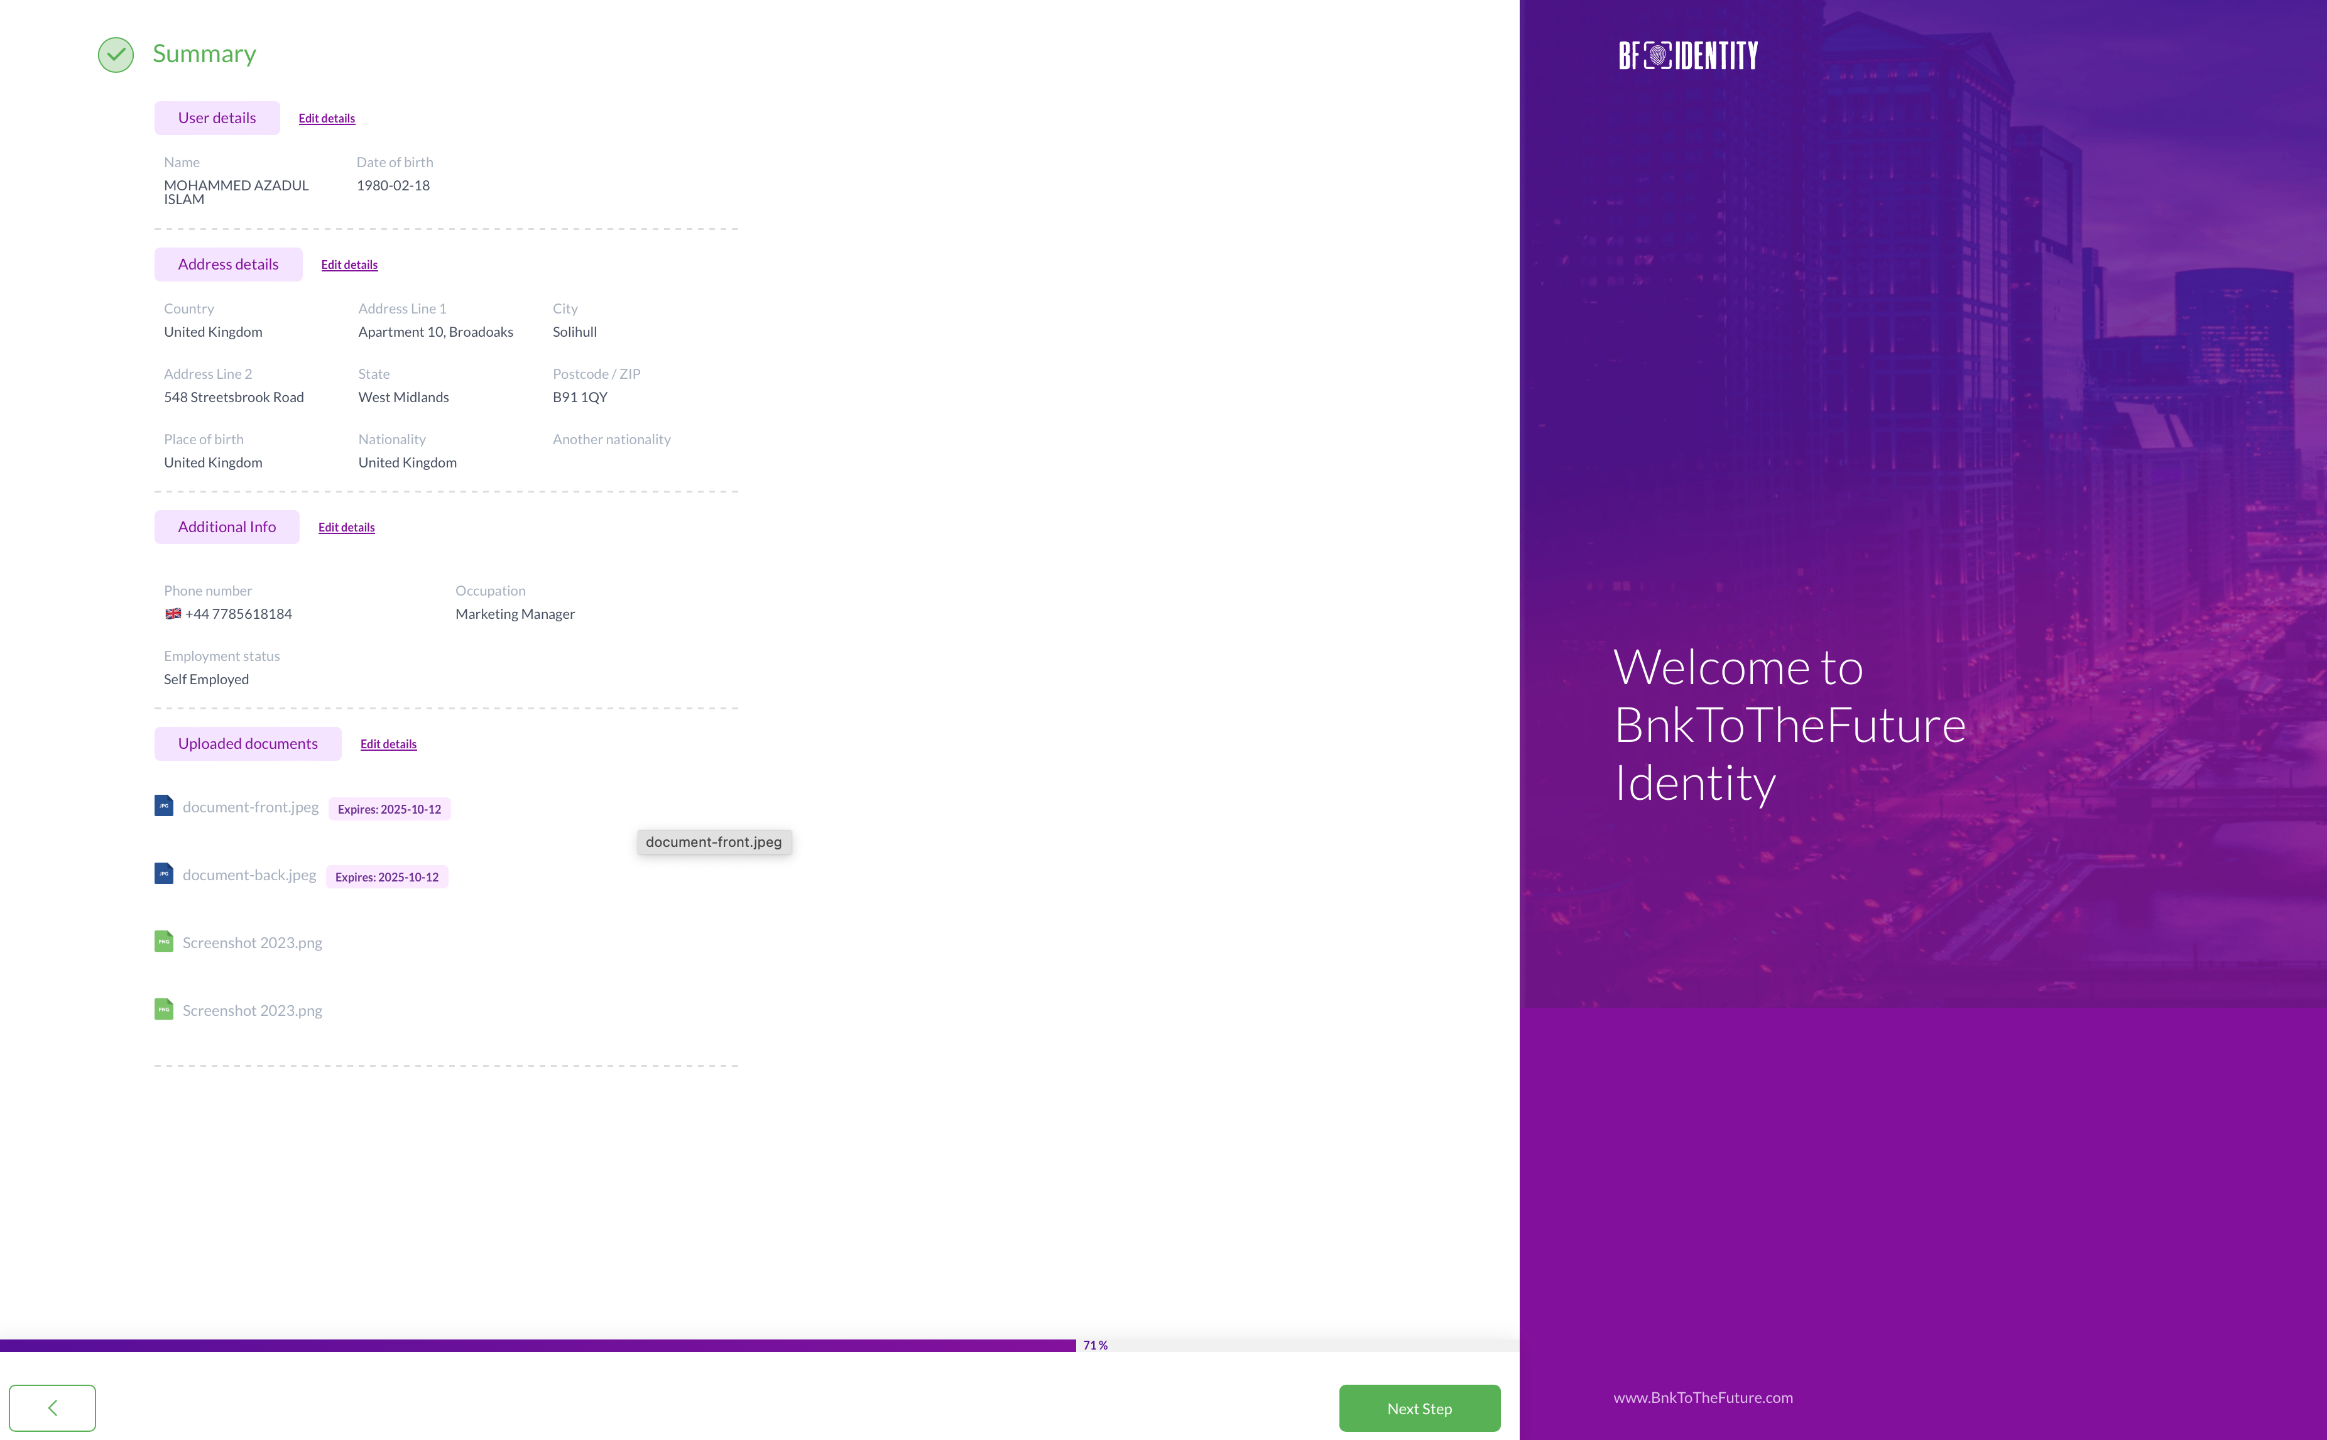
On the subsequent screen, a summary similar to the screenshot below will be presented. Please review it attentively, and if everything appears satisfactory, proceed by pressing the "Next Step" button. Alternatively, should you need to make any amendments, you can use the back button to navigate and correct the information as needed.
Step 8
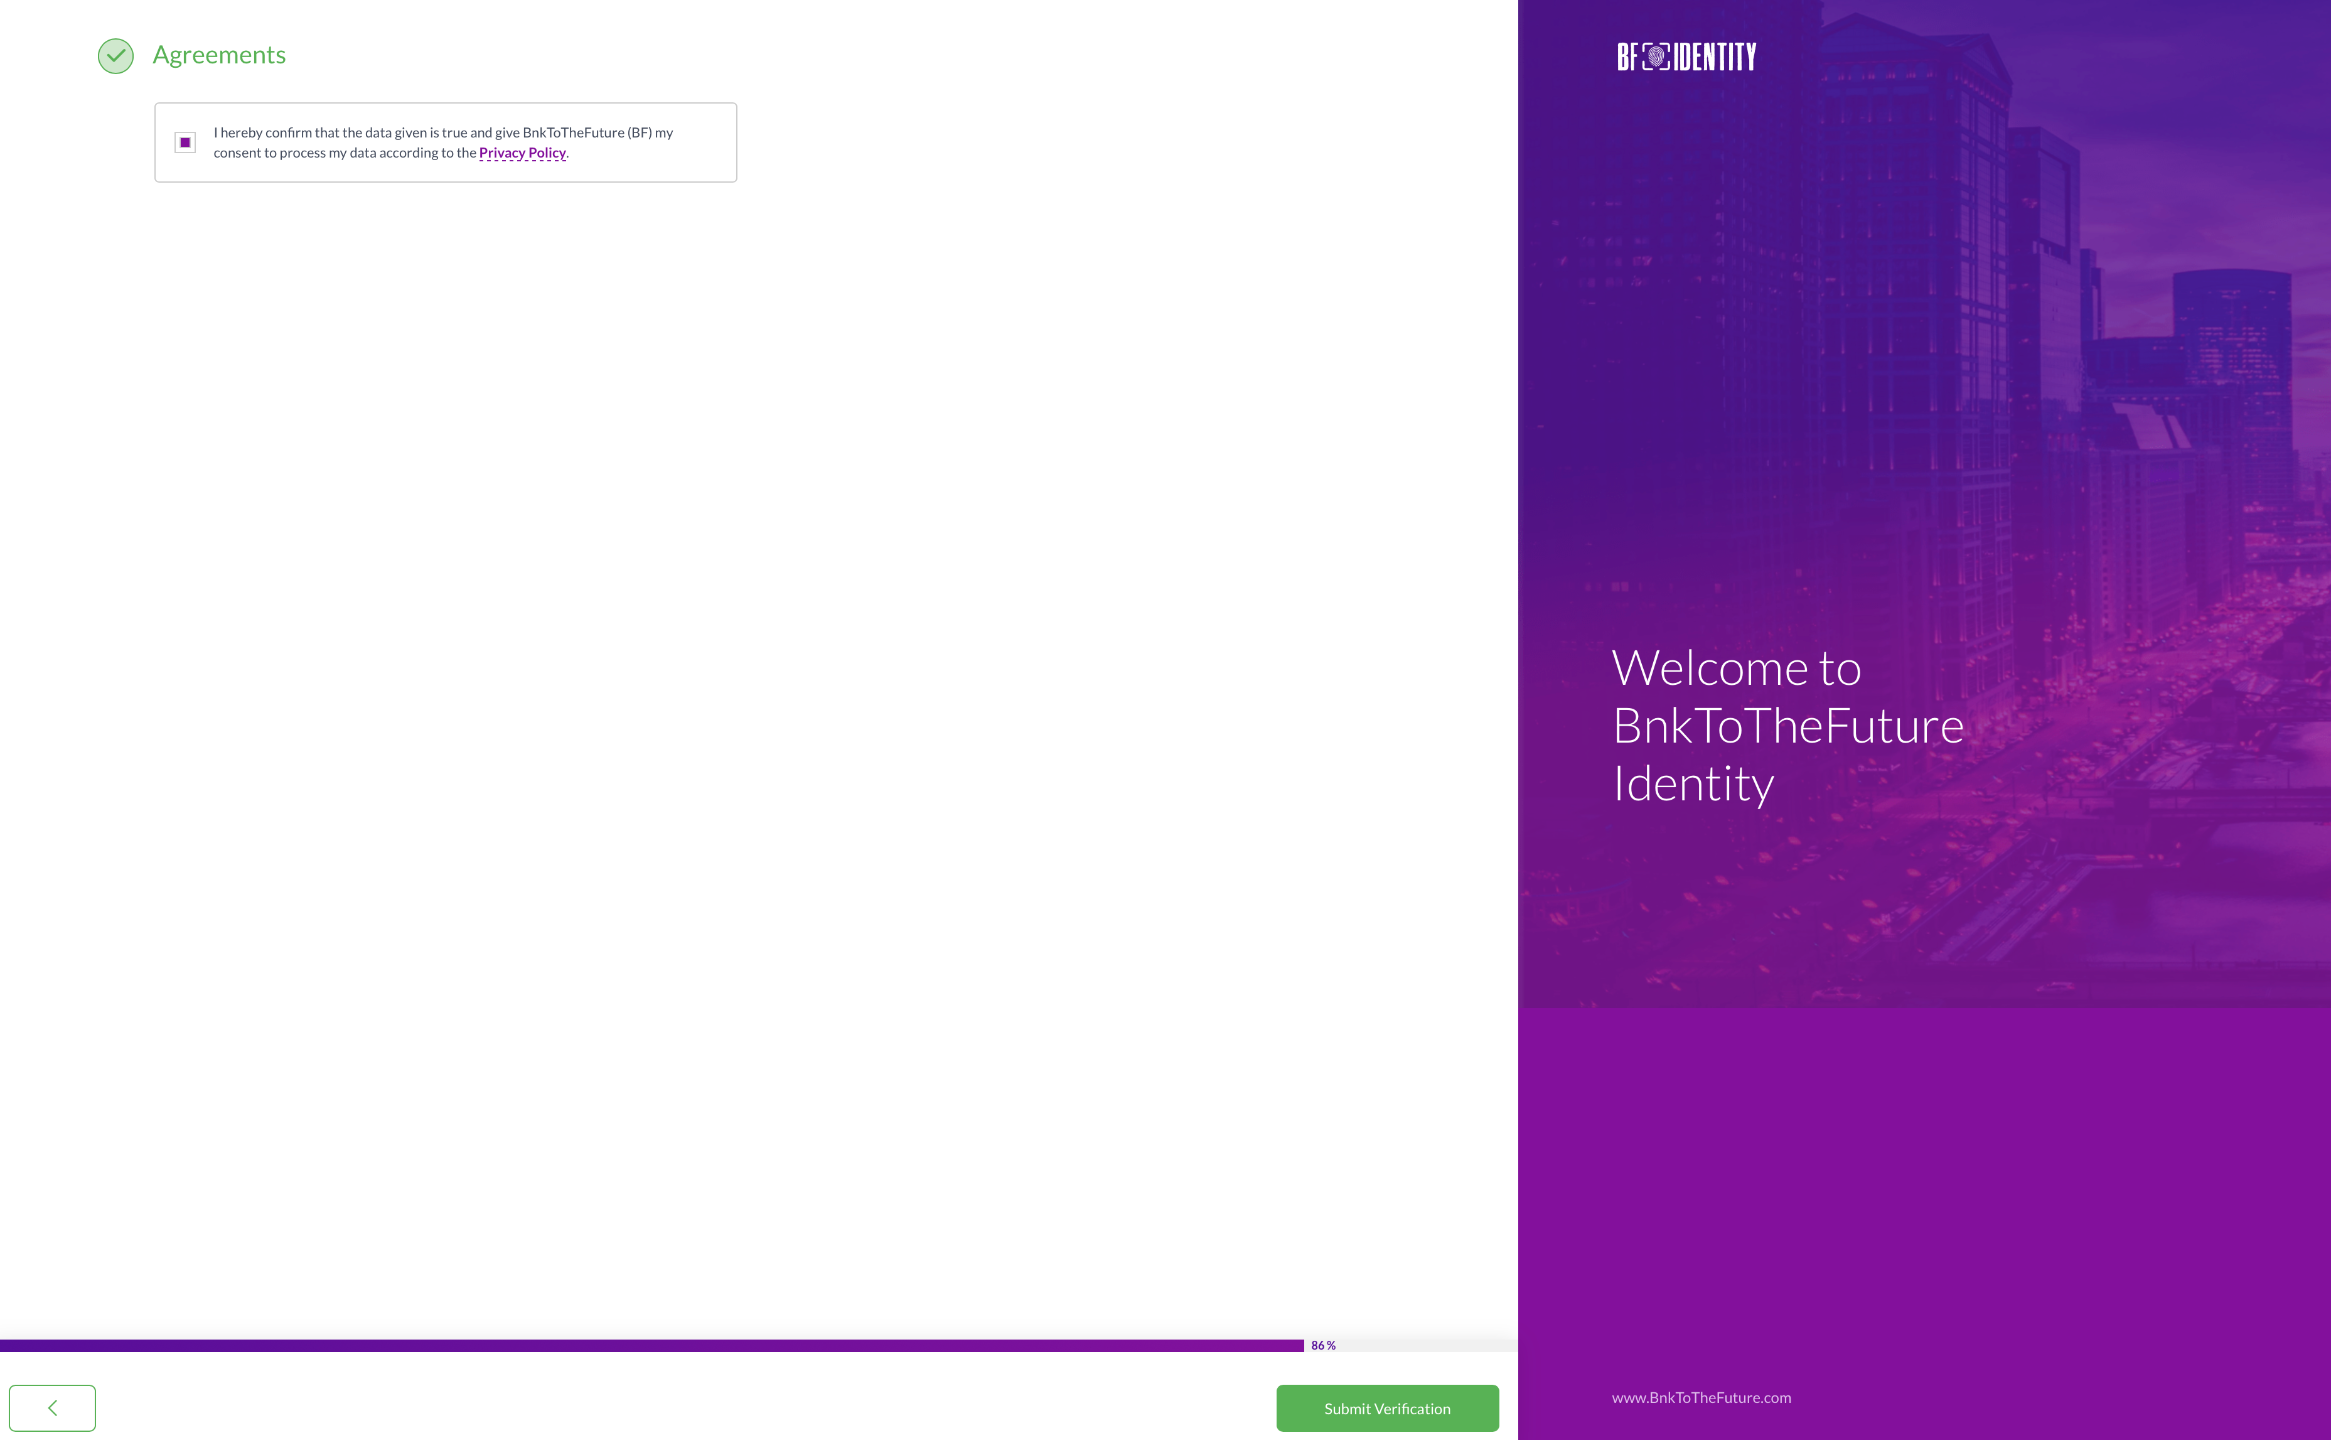
Review the agreement on the following screen. Once you have read and comprehended it, select the agreement. When you are prepared, click the "Submit Verification" button to proceed.
Step 9
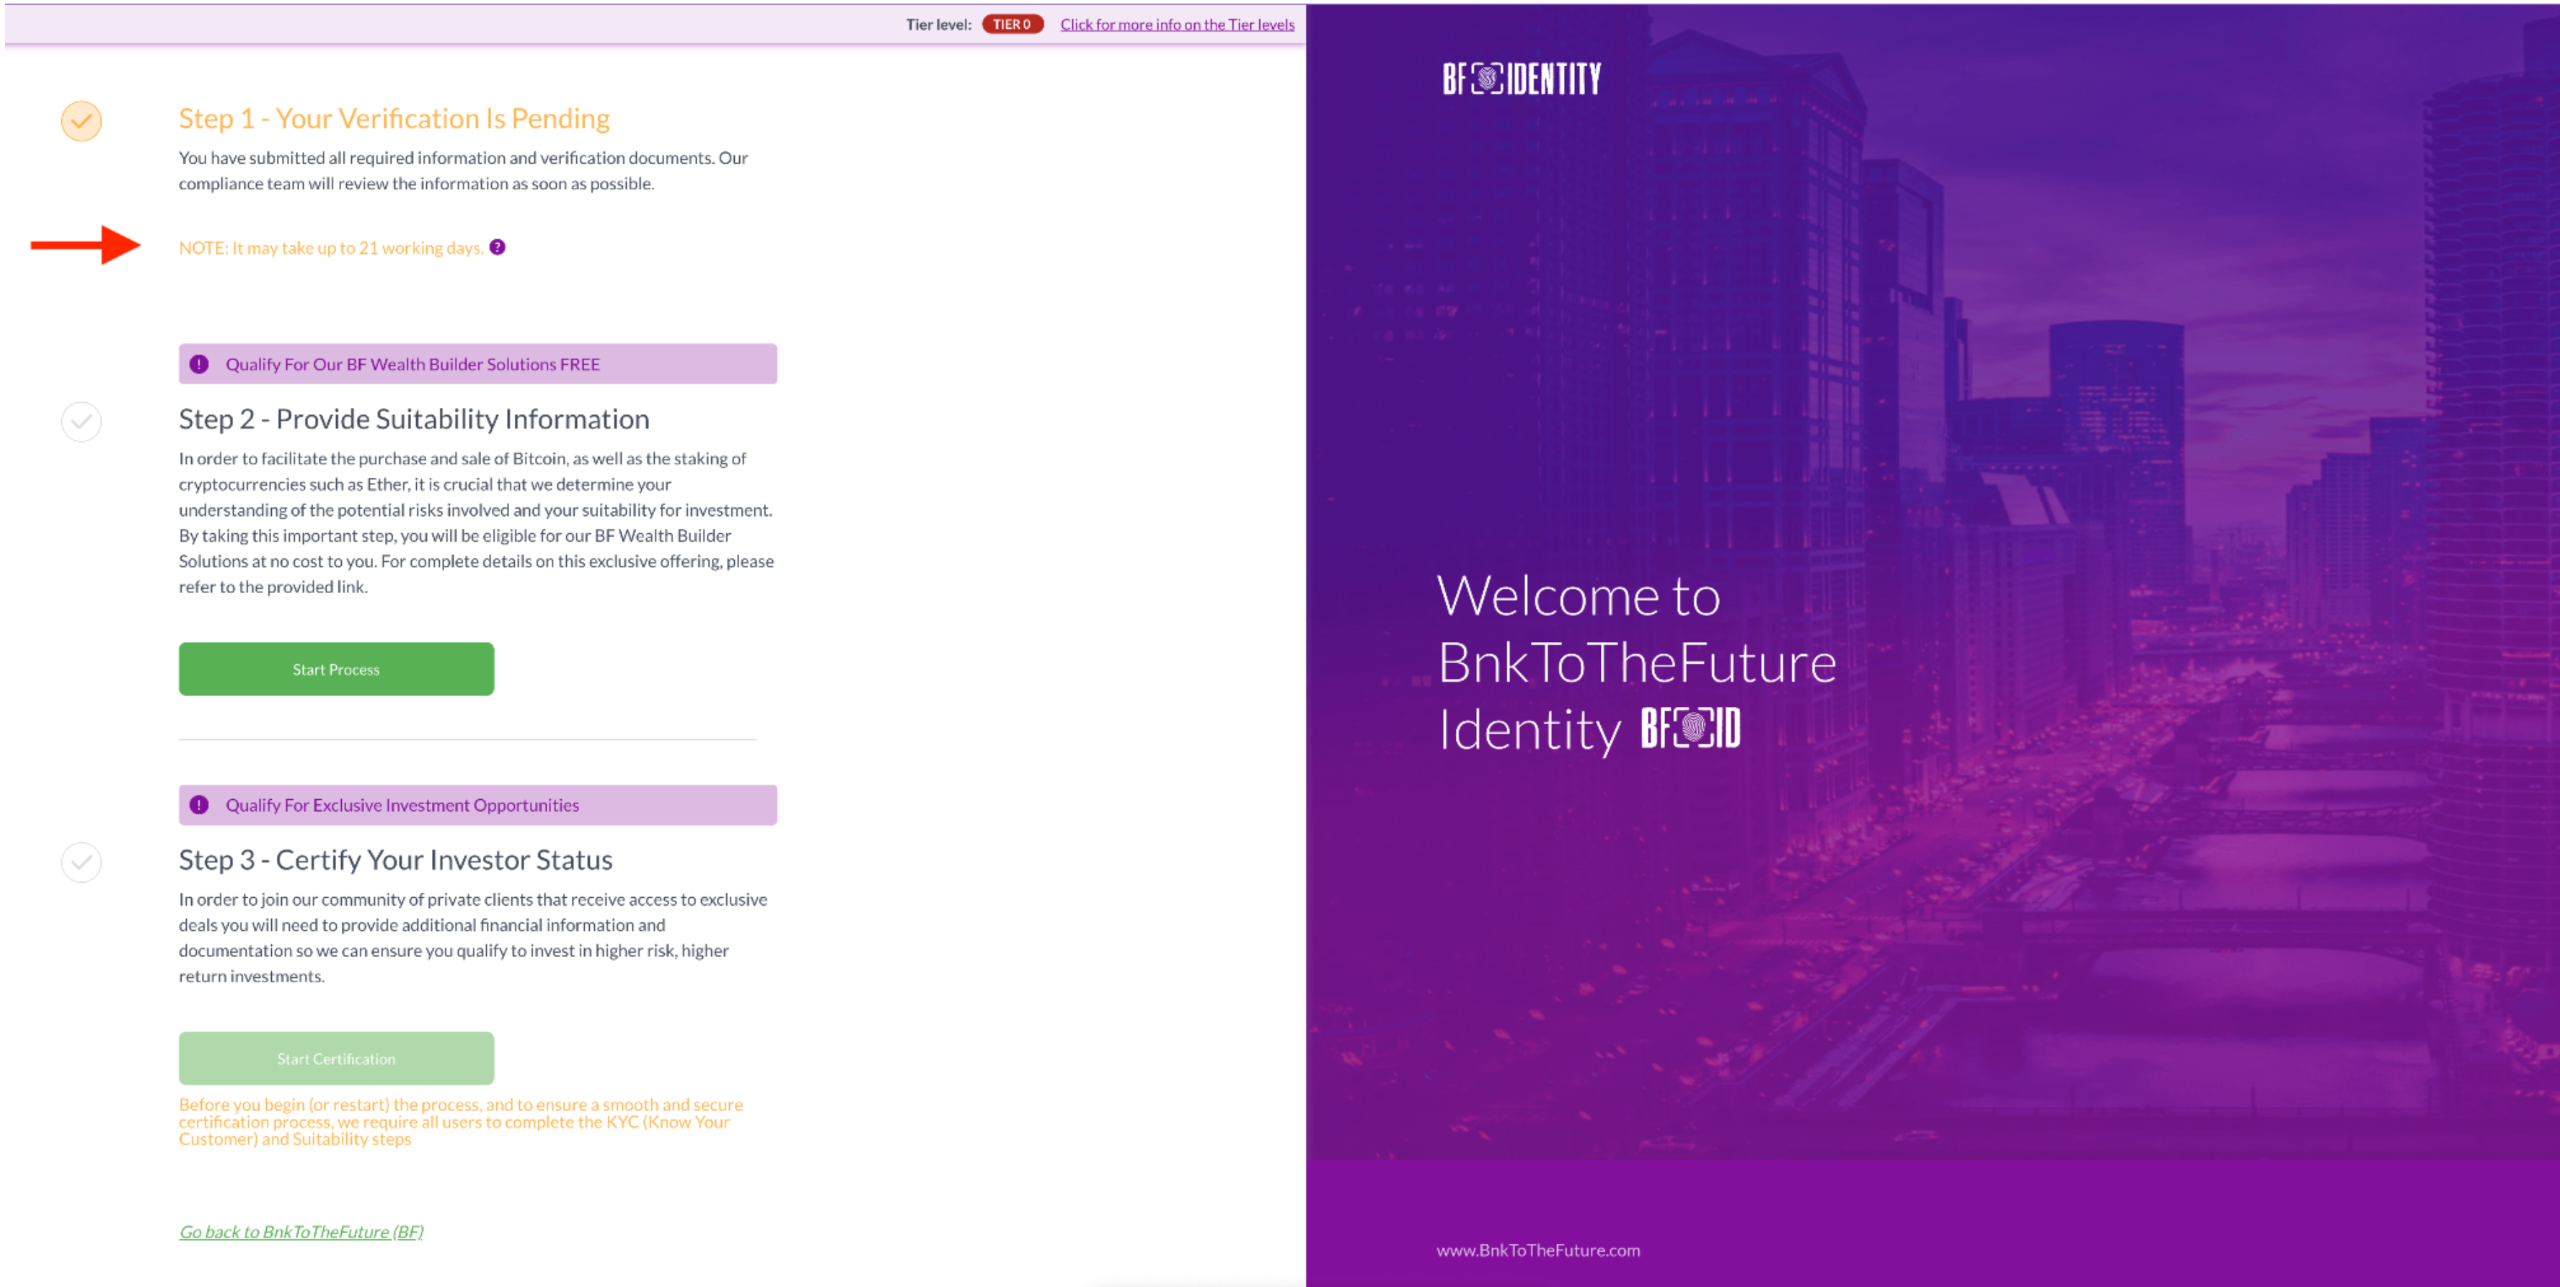
Congratulations, you've successfully completed the Proof of Address submission. To proceed, kindly select the "Proceed to Identity Dashboard" button, where you'll find instructions for the next steps.

In the identity dashboard, a checkmark beside Step 1 appears in amber, signalling the verification process is underway. As your documents process, this step will be marked as "Pending."
Once verified, the amber changes to green, and "Pending" becomes "Completed."
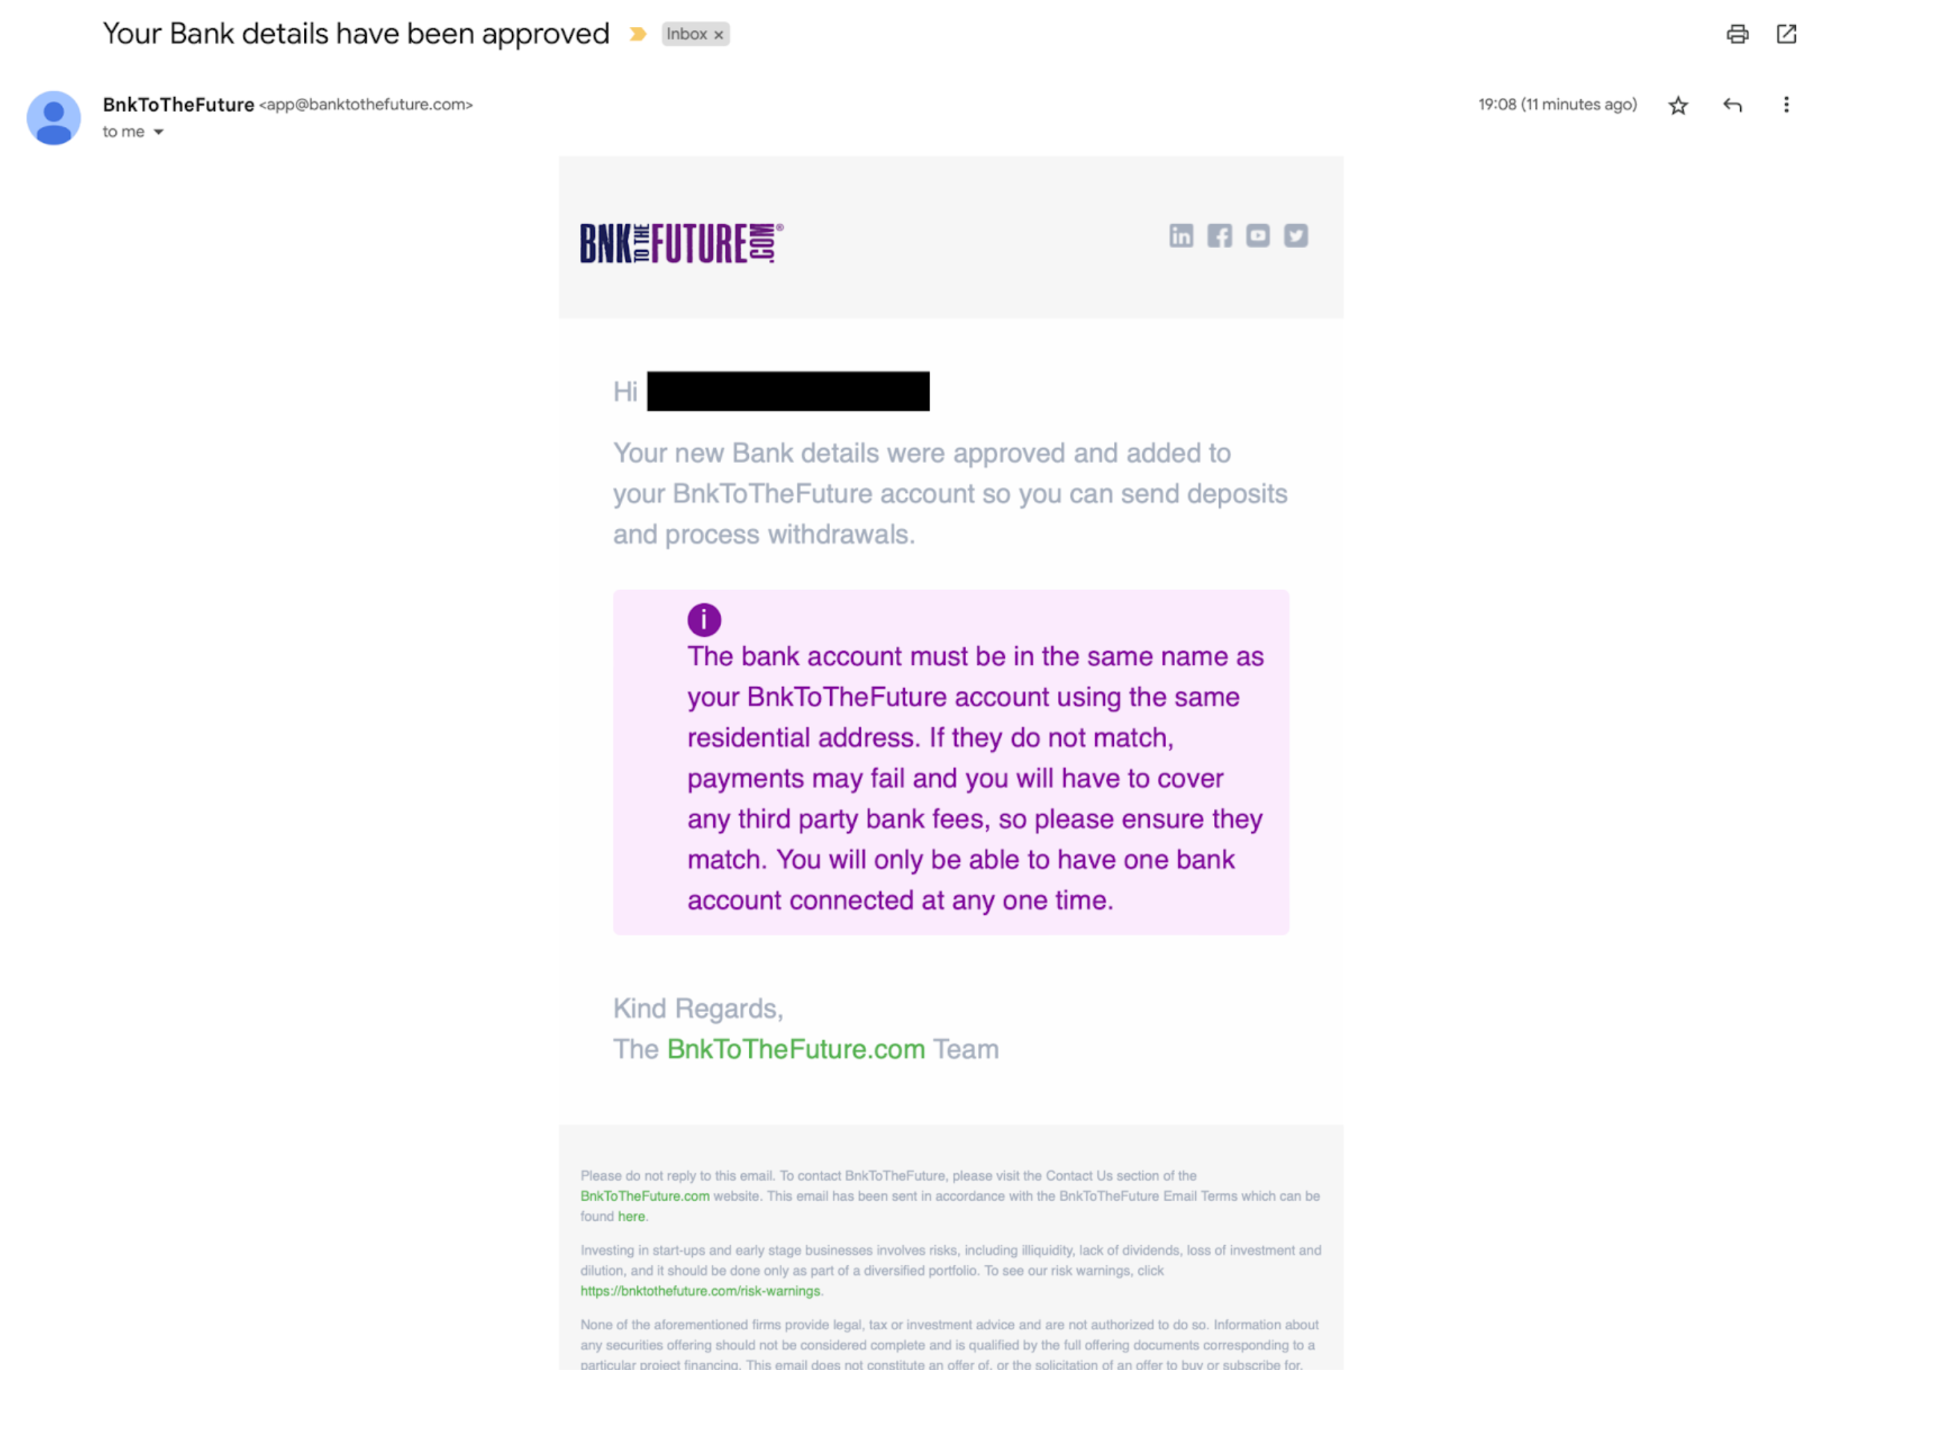
If verification fails, an email details the issue and steps to rectify it. This email contains a link to restart at Step 1 of this guide above.
On the dashboard, a red error message indicates verification failure. It guides adjustments and a button to restart from Step 4 of this guide above.
Your prompt email response and heeding the red message ensure smooth verification progress.
Now, you're all set to proceed with the suitability guide.